During Chapter 7 of Dead Space, we’re headed over to the Mining Deck in an attempt to send a signal out there into space that the USG Ishimura and those aboard it need help. As per usual, Isaac has a fair bit of legwork to do to send out the SOS, so here’s our walkthrough of Dead Space Chapter 7.
Dead Space Chapter 7: Into the Void
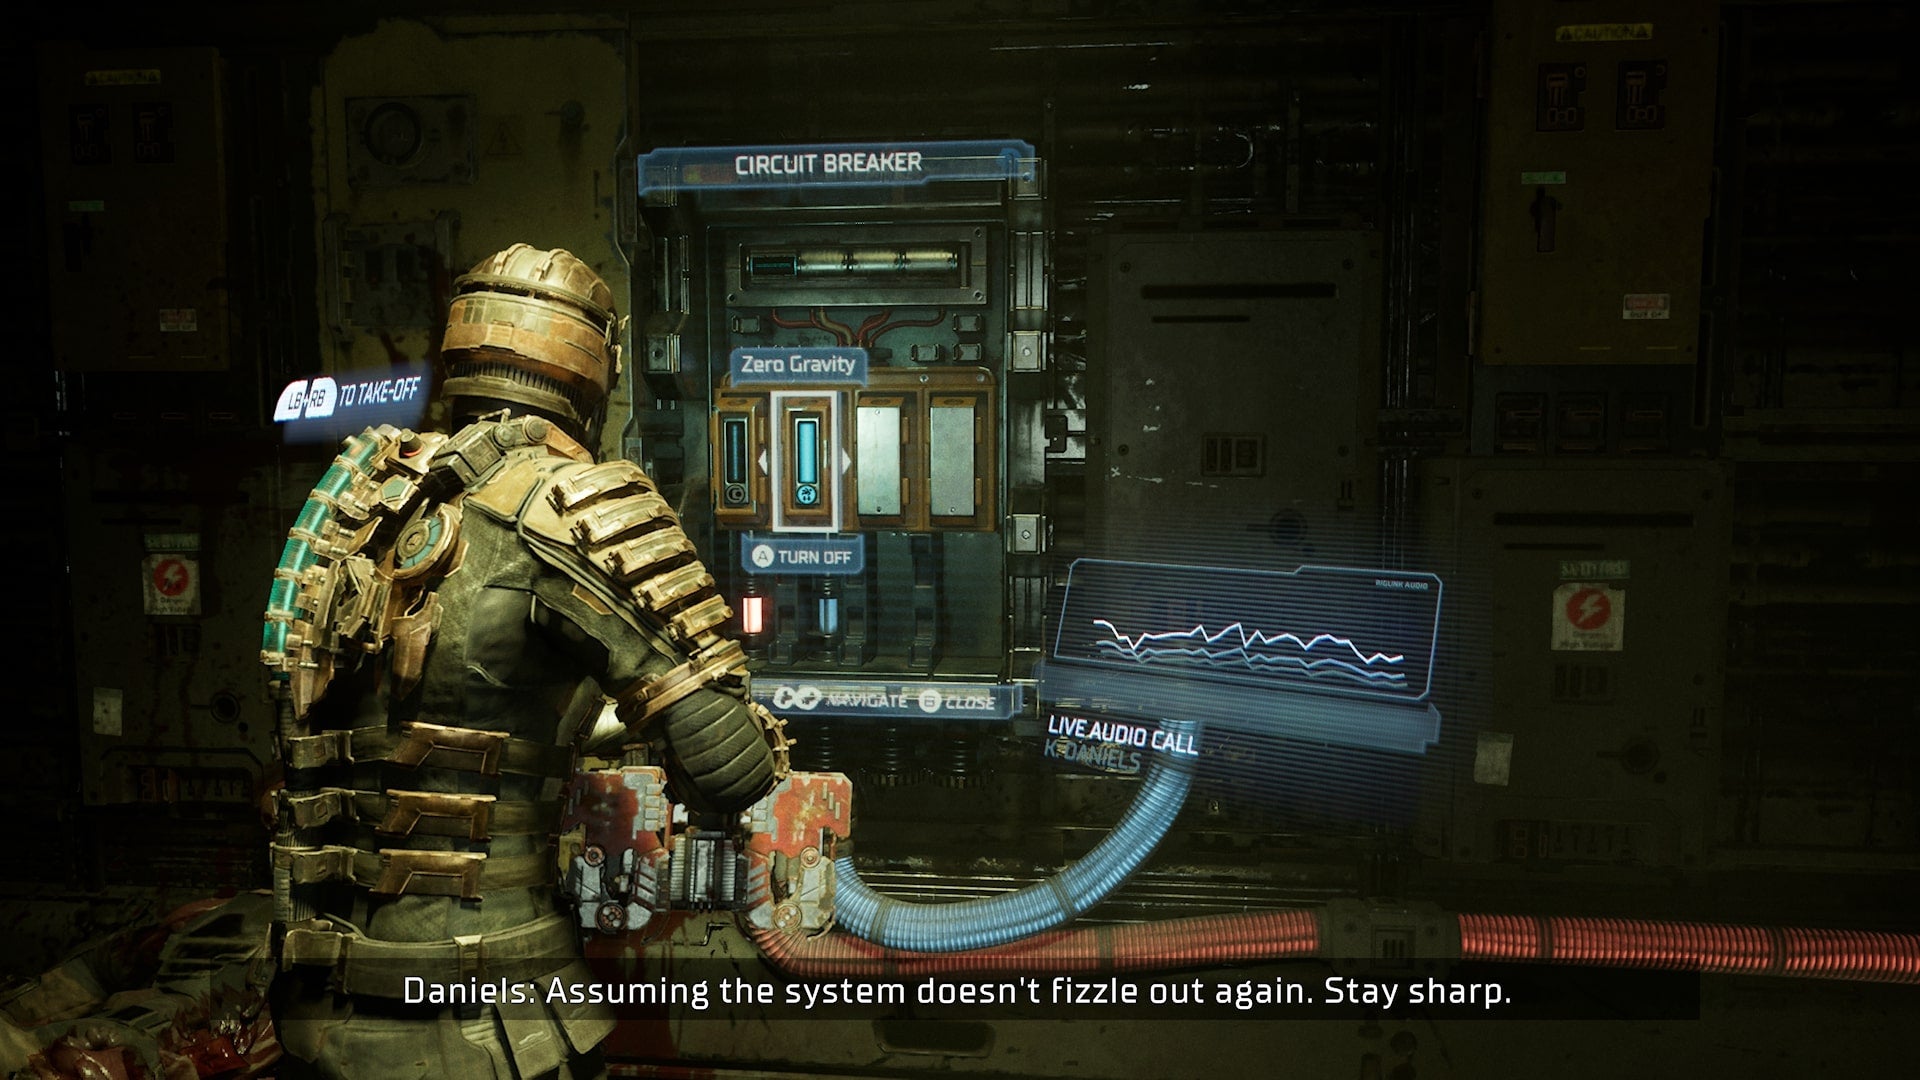
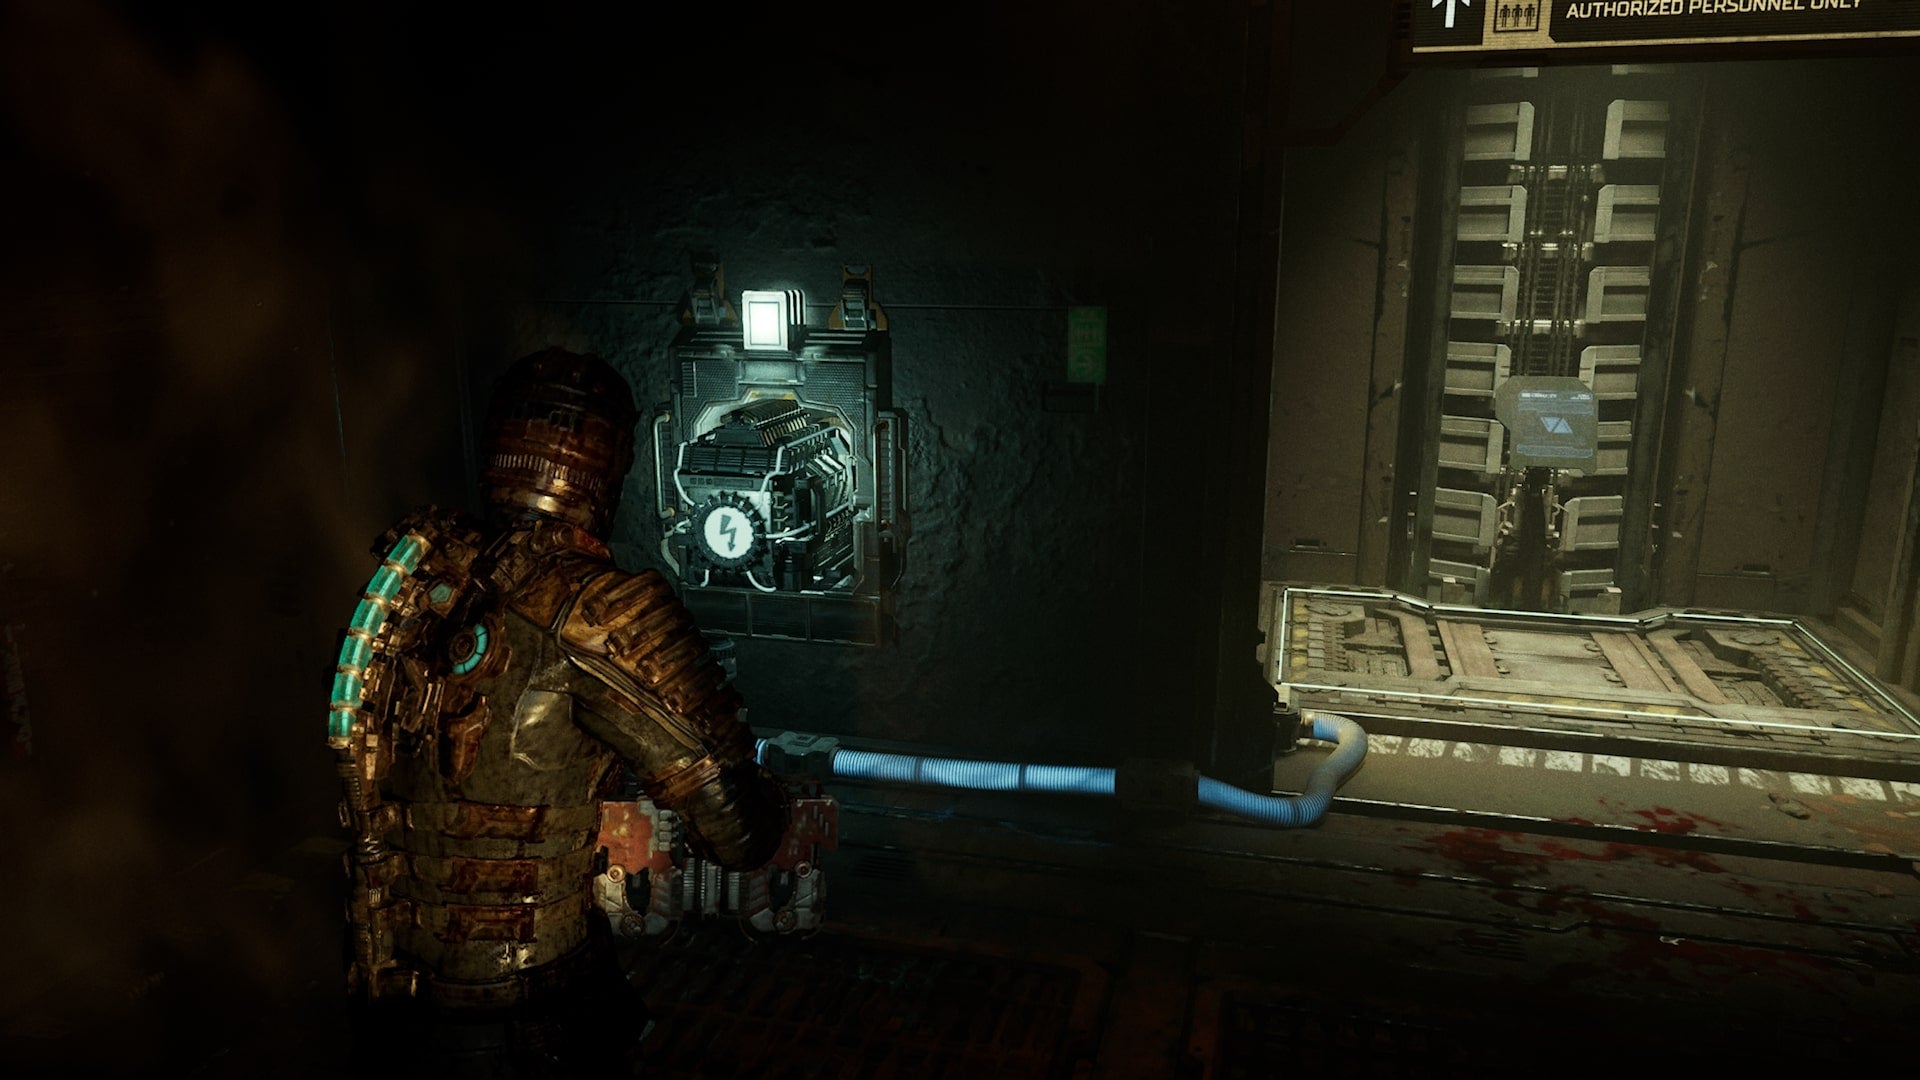
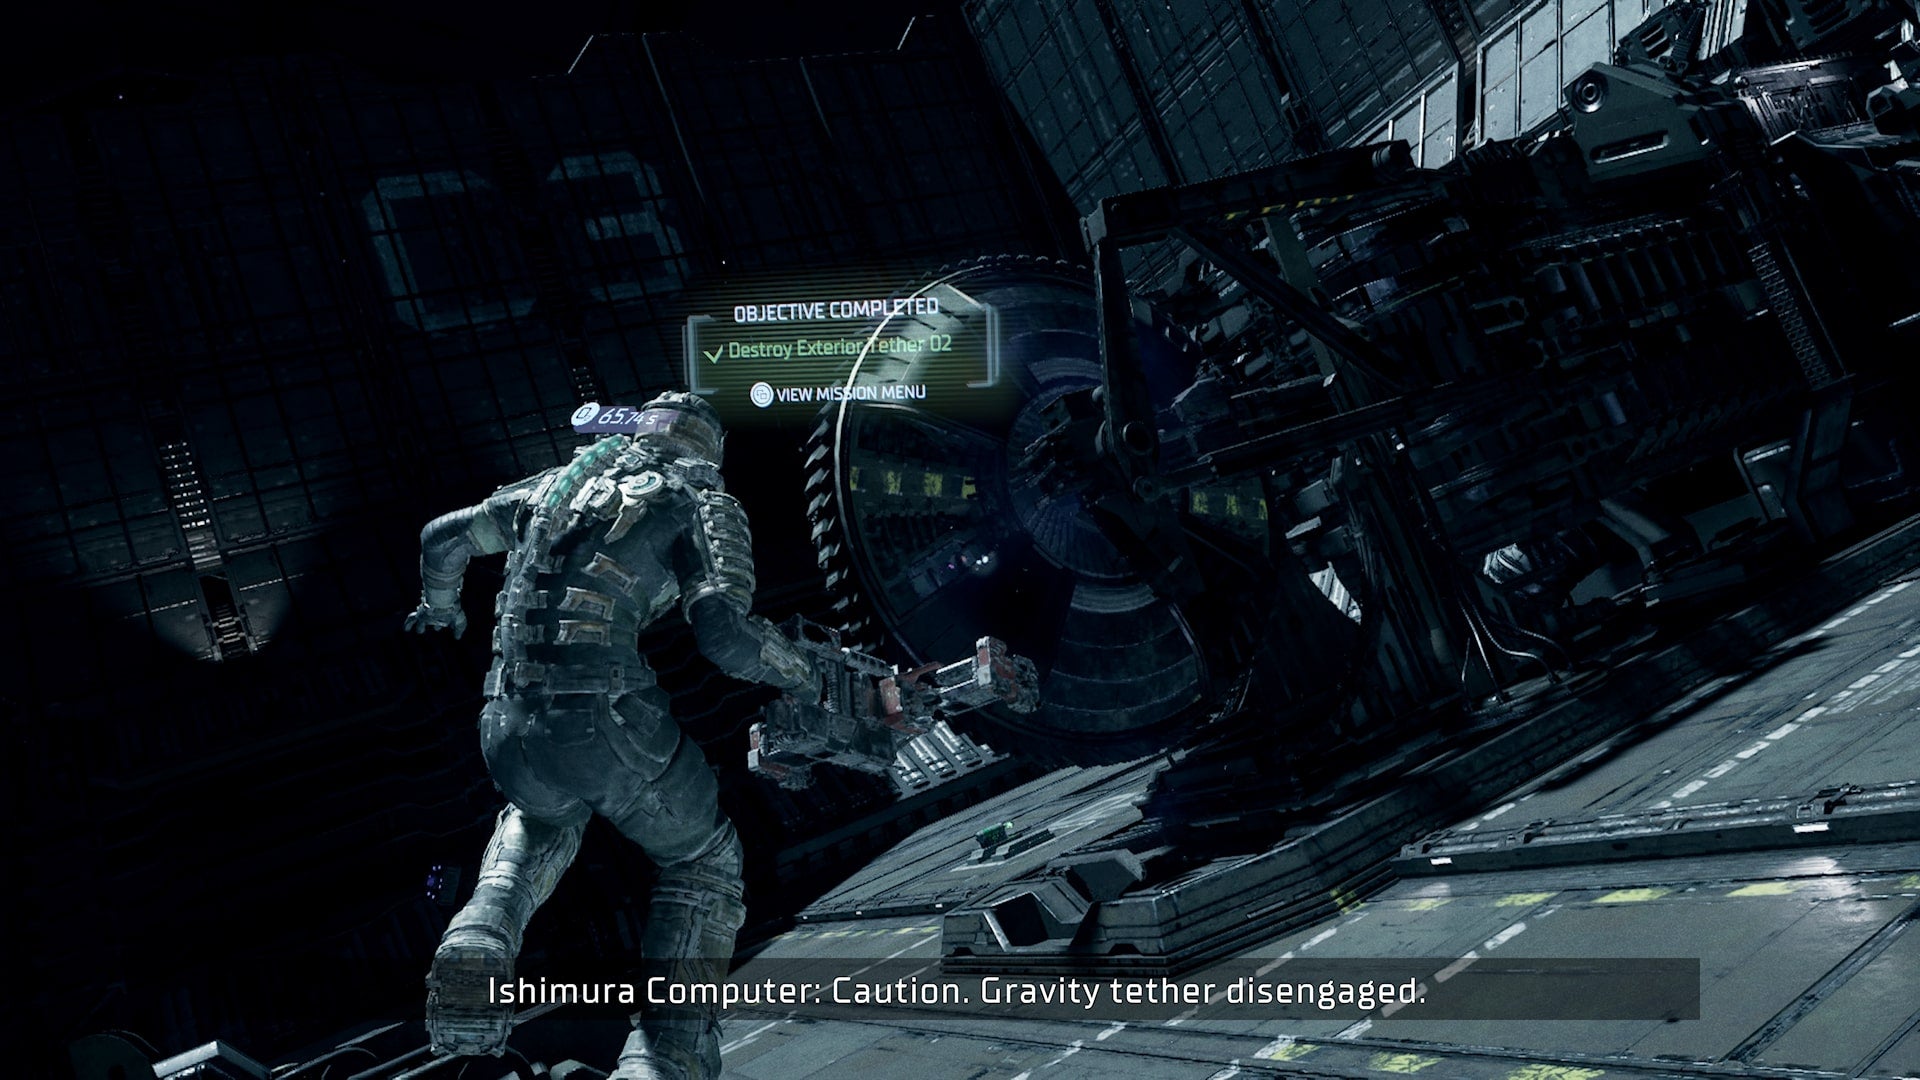
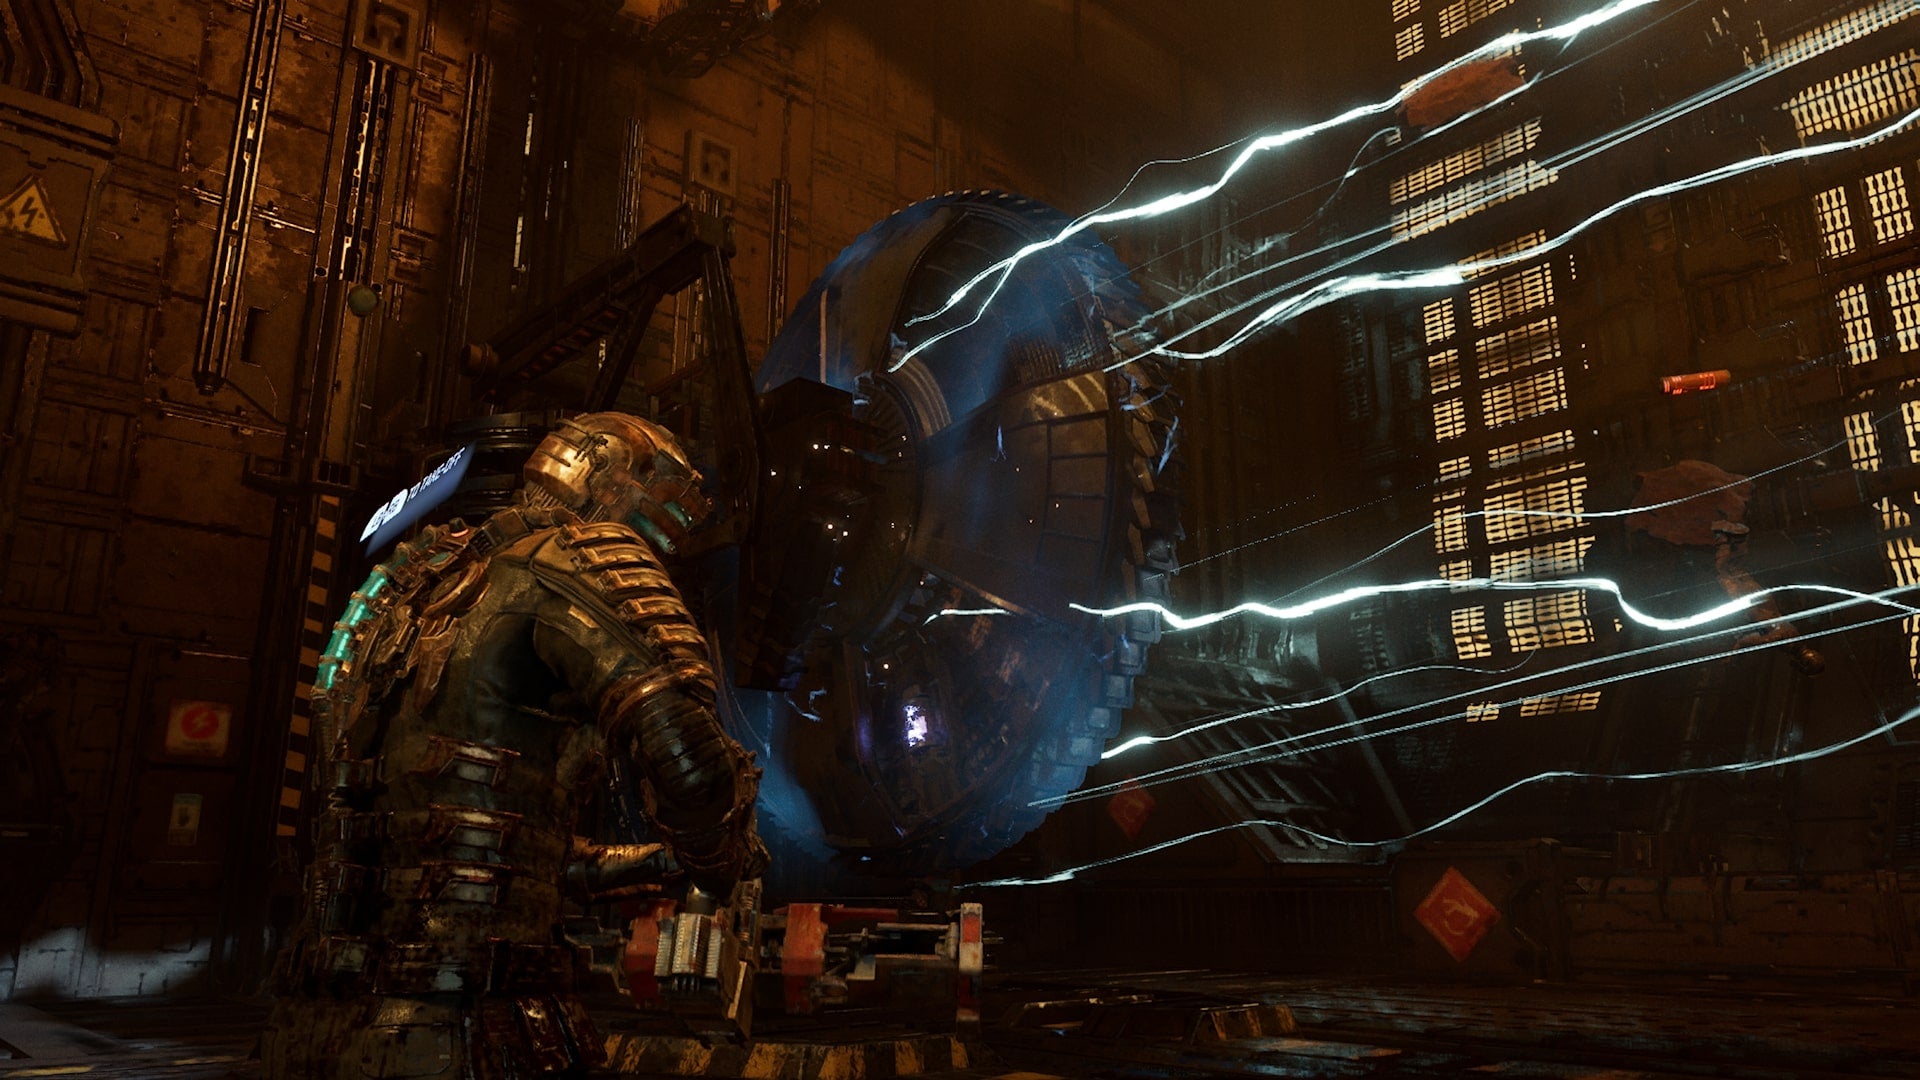
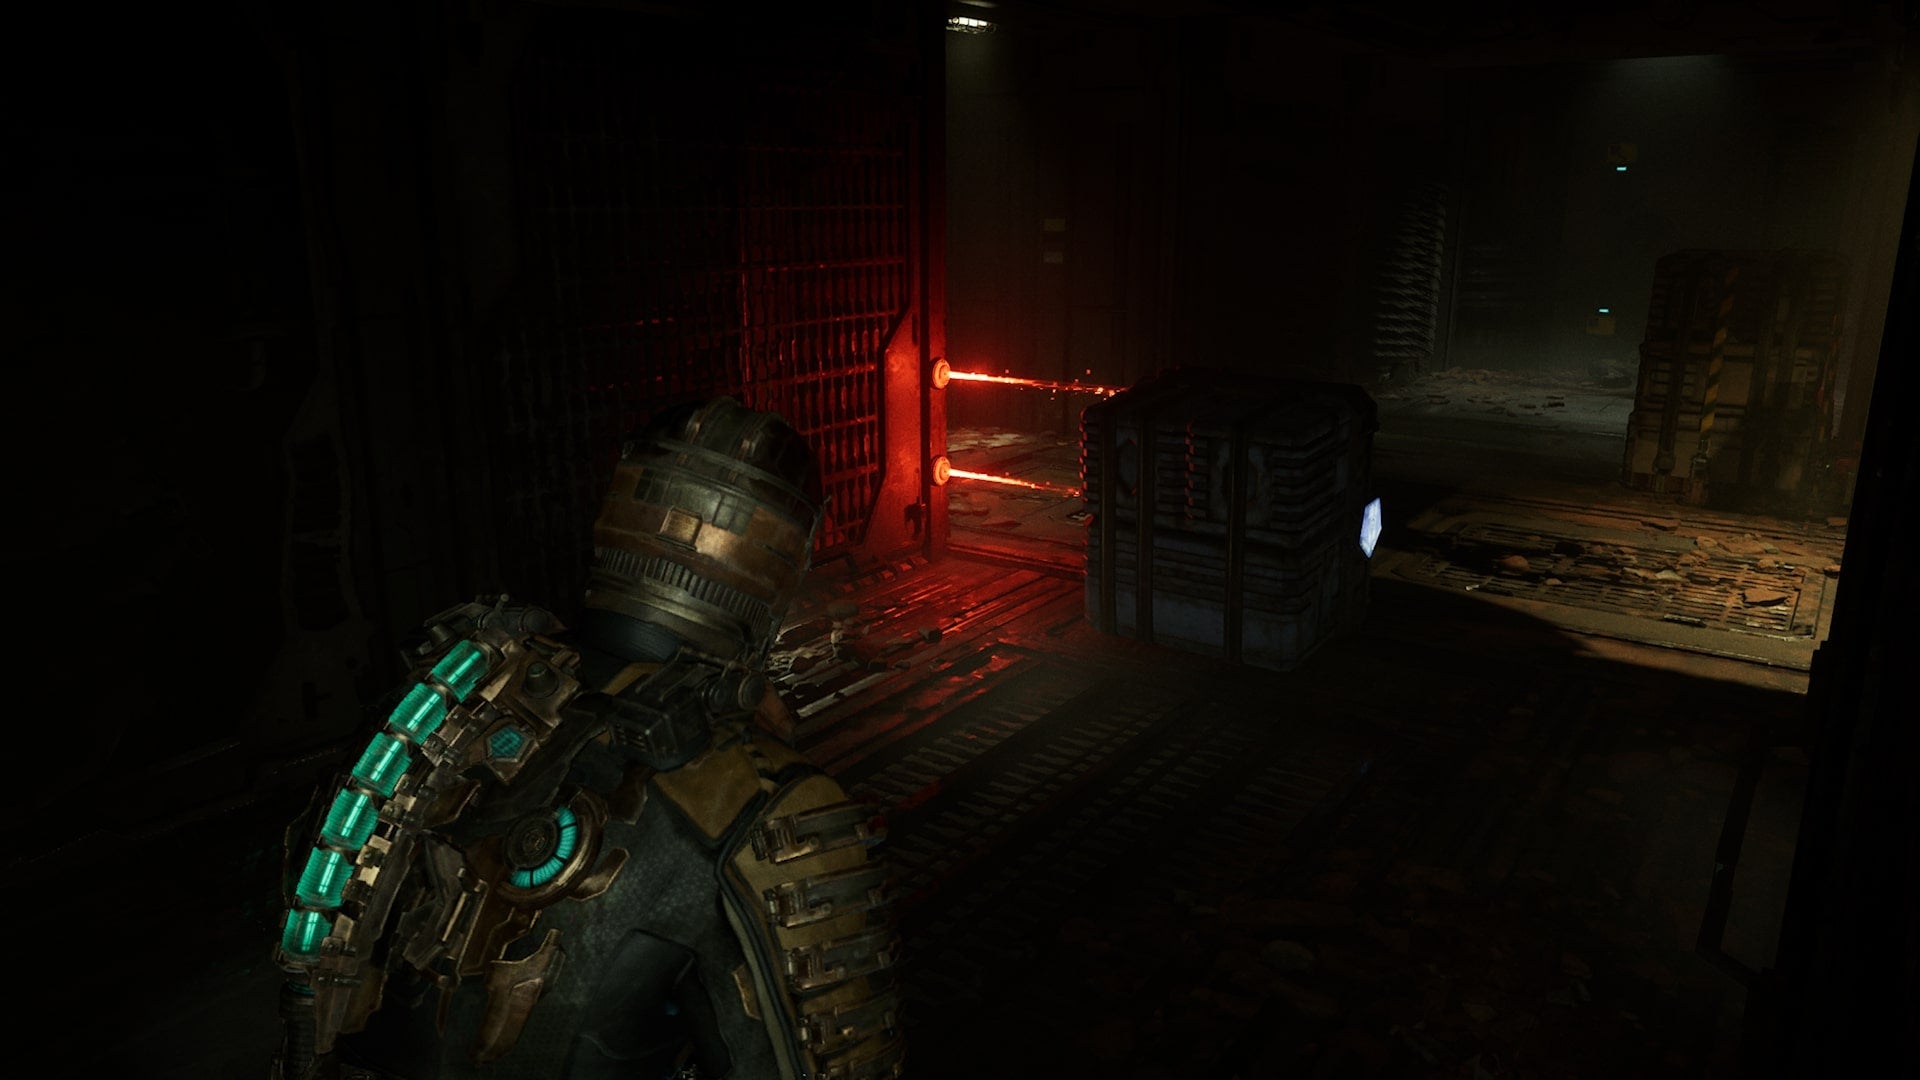
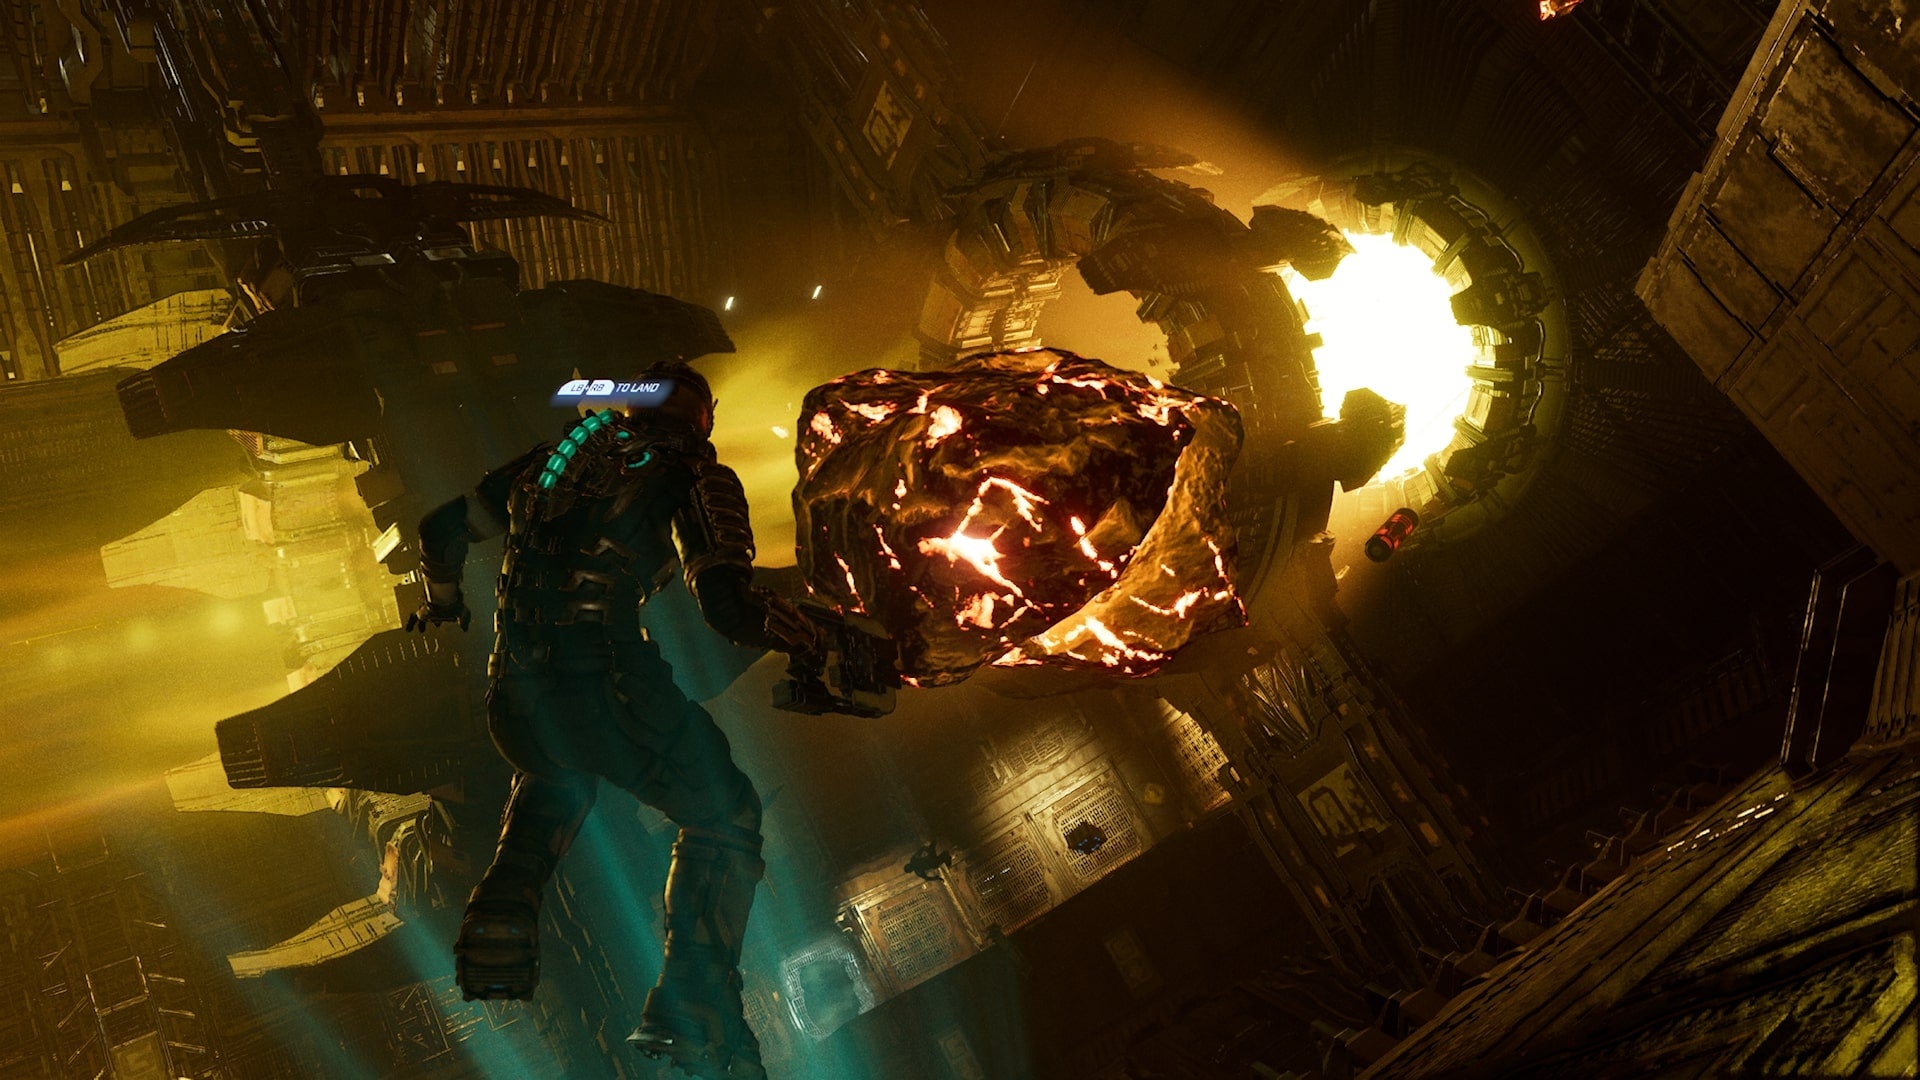
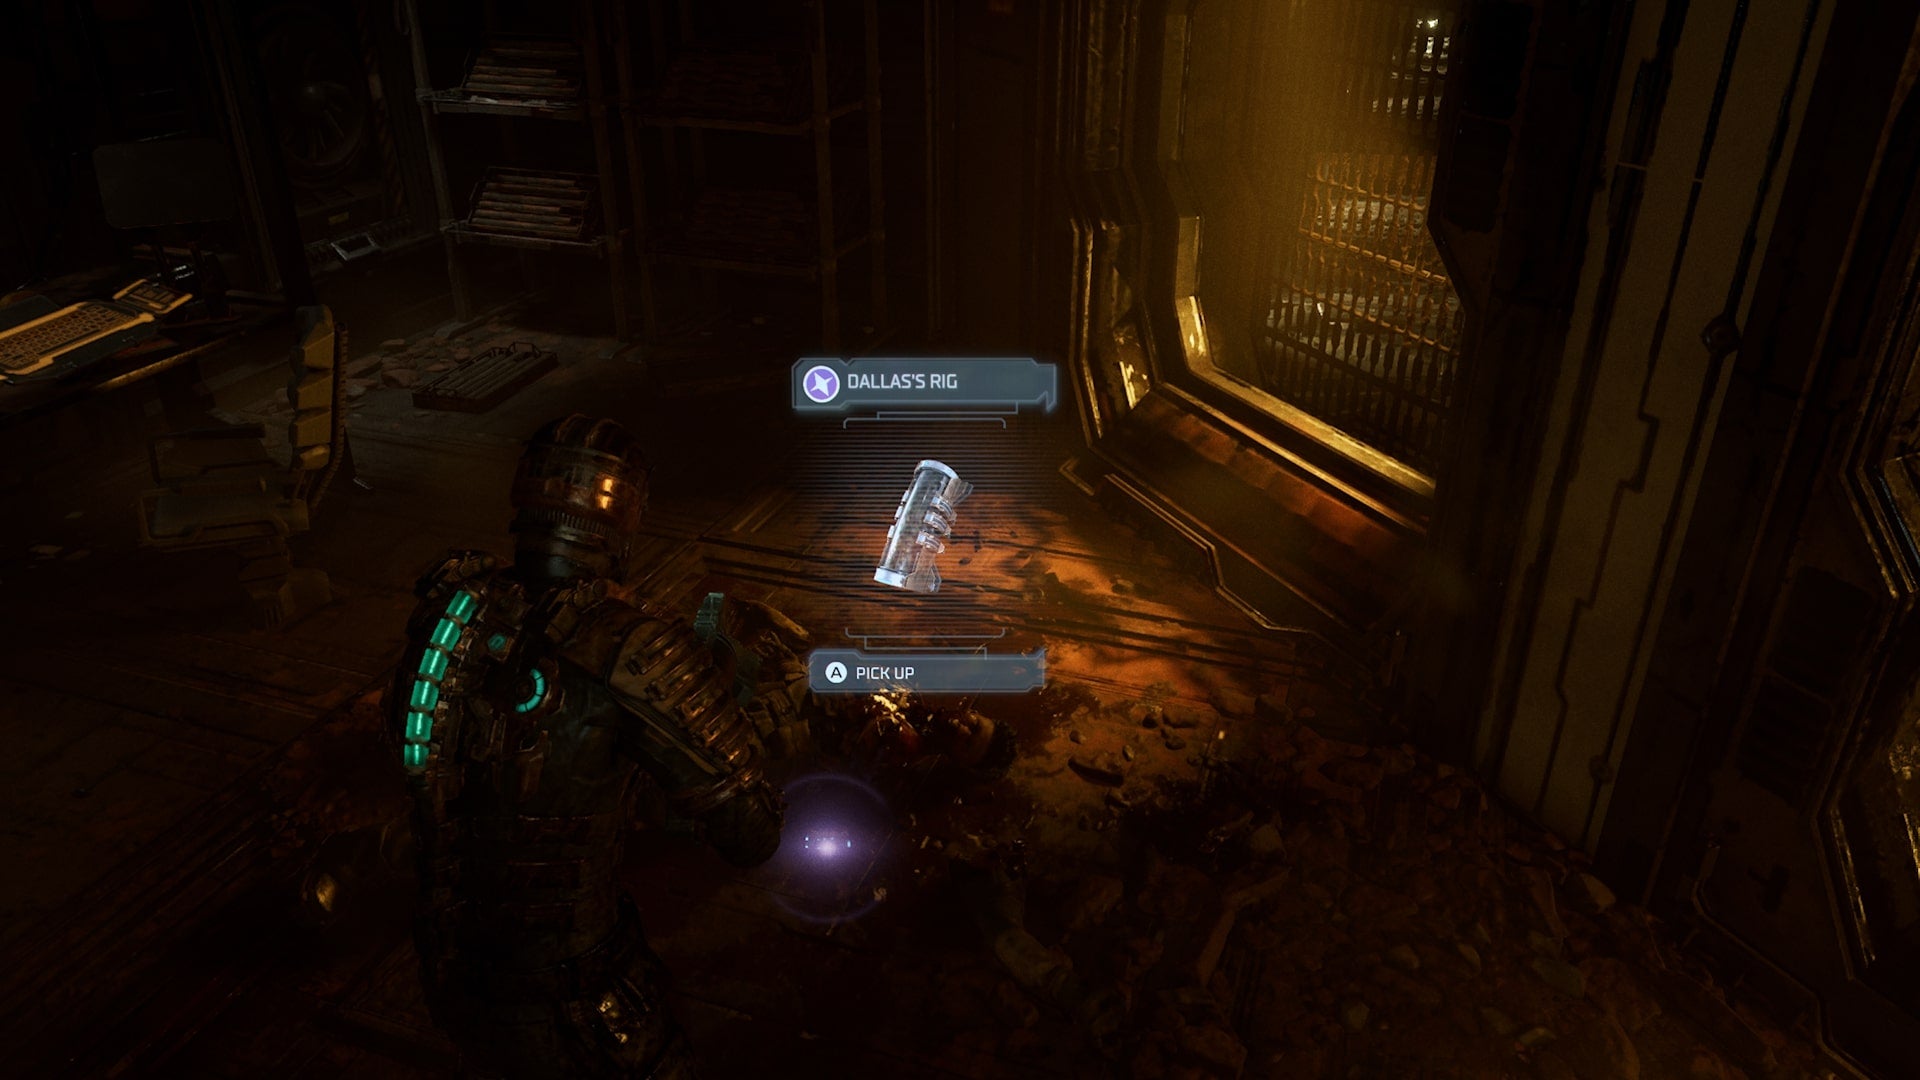
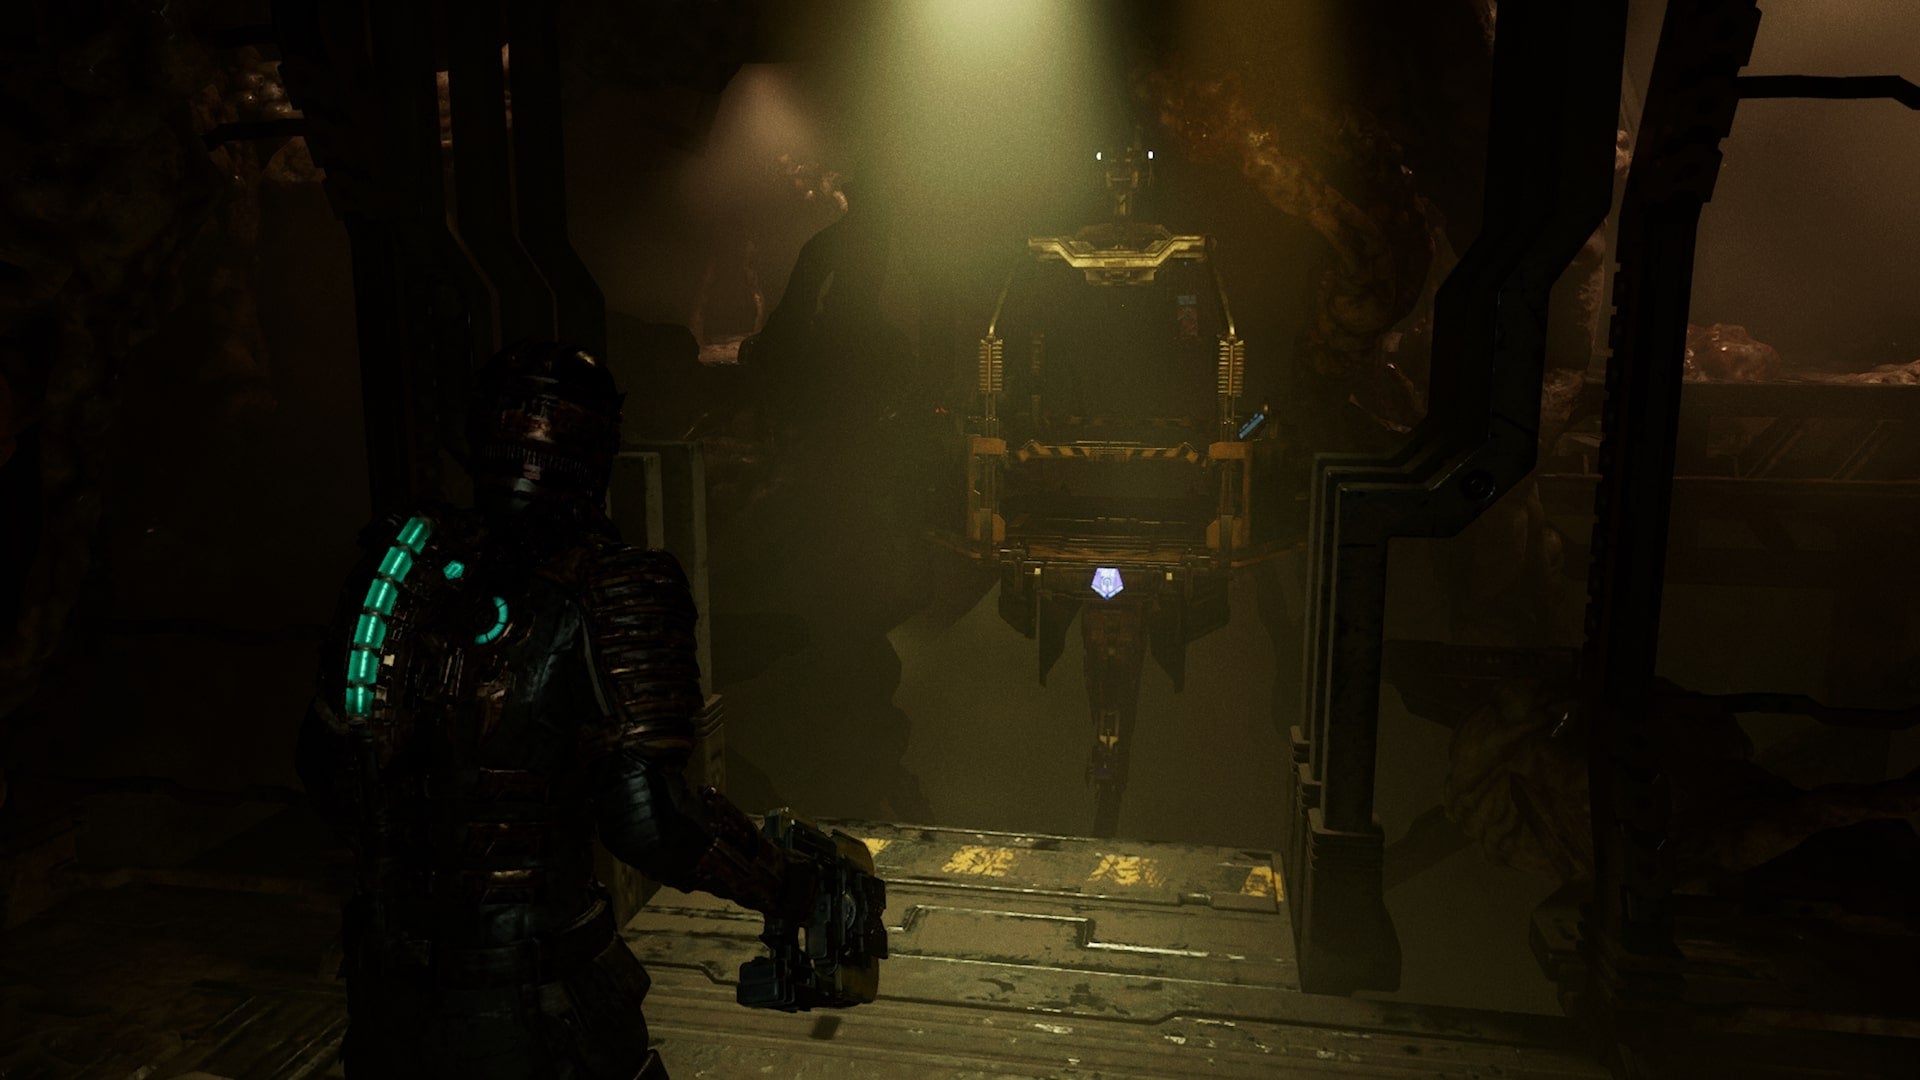
After having beaten the Leviathan, you’ll speak with Dr. Elizabeth Cross, and be directed to the Mining Deck again. From here, and following your call with Kendra, take the Mining Operations elevator down to Deck C - Mining. The elevator will malfunction halfway down and hostiles will spawn, so take caution. In the following corridor, lasers block your path. Use Kinesis on the crate in front of you, and place it in front of the lasers. After walking past the first laser, use Kinesis on the same crate to make your way past the second laser. Head into the Extraction Area, where you’ll find a Store, Save Station, and enemies. Do what you need to do here, and then use Kinesis to move the power cell by the Save Station over to the socket next to the elevator. Then, take the elevator, and follow your locator into Mining Control. Using the control panel in here, load the beacon. Follow your locator all the way back to the Mining Operations elevator, and travel to Deck B - Processing. In the next room, use Kinesis on the crates to get past them, and then loot the following area with the Save Station. Follow your locator again, and use the Store up ahead if needed. In the following zero gravity area, you need to use Kinesis to throw the fiery asteroids into the processor and destroy them. After that, you’ll be able to activate the control panel in this room. Prepare for enemies to spawn as you do, though. Let your locator guide you into Mineral Processing Control, and collect Dallas’s Rig. Then, return to the Mining Operations elevator and travel to Deck D - Maintenance. Once again, get a bearing from your locator towards the SOS Beacon, taking care of enemies and collecting loot on the way. In the Equipment Maintenance Bay, there is a Save Station. Then, you can use Kinesis on the platform up ahead to bring it towards Isaac. Activate the platform and move across. At the end, you’ll speak with Nicole. Wait for this conversation to end, and the door in front of you will then be unlocked. Proceed ahead. Wait for Nicole to open the door and clear out the enemies in the meantime, making sure that she doesn’t become victim to any. Once that’s done, advance through into the Equipment Workshop. You’ll find the SOS Beacon and loot in this room. Grab it all and then head up the elevator. When you reach the circuit breaker in Equipment Maintenance Bay, turn off the Gondolas and turn on Zero Gravity. Soar over to the other side of the room, following your locator, and save at the Save Station. Make your way to the Mining Operations elevator again, and travel to Deck C - Mining once more. The power will go out, and turn back on once the enemies are taken care of. Your locator will show you the way over to Mining Control, and stop by the Storage Room on the way for loot, seeing as you now have Security Access Level 3. In Mining Control, activate the beacon. After the malfunction and phone call, return to the Extraction Area and grab the power cell from the lift you just used, using Kinesis. We’re going to go through the door by the Save Station, where another elevator up ahead needs the cell. There are, however, multiple Exploders. So you might want to leave the Power Cell by the door and take care of these first before carrying the cell on through. With them cleared, fire up the elevator with the power cell, and ride in it. In the Mining Bay, you want to go outside the ship and plant the SOS Beacon on the exterior of the asteroid; be careful, though, as there are barriers circling the asteroid that will kill you upon contact. Swiftly exit as the barriers rotate to the other side of the asteroid. Once you plant the beacon, you’ll need to destroy the large circular tethers; there are two outside that you can take care of first, and two more inside. To destroy them, slow them with stasis, and then specifically fire at the glowing, illuminated parts of the tether. With all four tethers destroyed, and the beacon planted, you’ll be able to finally leave the Mining Bay through the door you used to enter it. Follow your locator, and after going up the elevator, grab the power cell again because we need to return it to the original elevator. While moving it, take caution to avoid the fire that’s now being pumped out around the place. Once in Mining Control, launch the asteroid, and then go to leave the room. As ever, a quarantine starts and The Hunter will appear. Keep him and the other enemies at bay with Stasis until the glowing Kinesis lever appears on the wall near the door. Use Kinesis to move the lever down, and the doors will unlock again. Once you’re in the clear, return to the Tram Station finally. When at the Tram Station, travel to the Bridge. That marks the end of Dead Space Chapter 7, so it’s now time for Chapter 8: Search and Rescue.
Dead Space Chapter 8: Search and Rescue Dead Space Chapter 9: Dead on Arrival Dead Space Chapter 10: End of Days Dead Space Chapter 11: Alternate Solutions Dead Space Chapter 12: Dead Space
For more on Dead Space, take a look at our tips and tricks for tackling the USG Ishimura, and our review of the remake.
![]()
![]()