After your time in Midtown and at the Neco Corp factory, you’ll have finally powered up the subway and been able to make it to the Control Room. Once again, the atmosphere changes when you reach here. B-12 collects their final memory, and there’s only a few things left to do. But what exactly do you do once in the Control Room? We’ve put together a brief - as spoiler free as possible - walk through for Stray’s Control Room below.
Stray Control Room Walkthrough
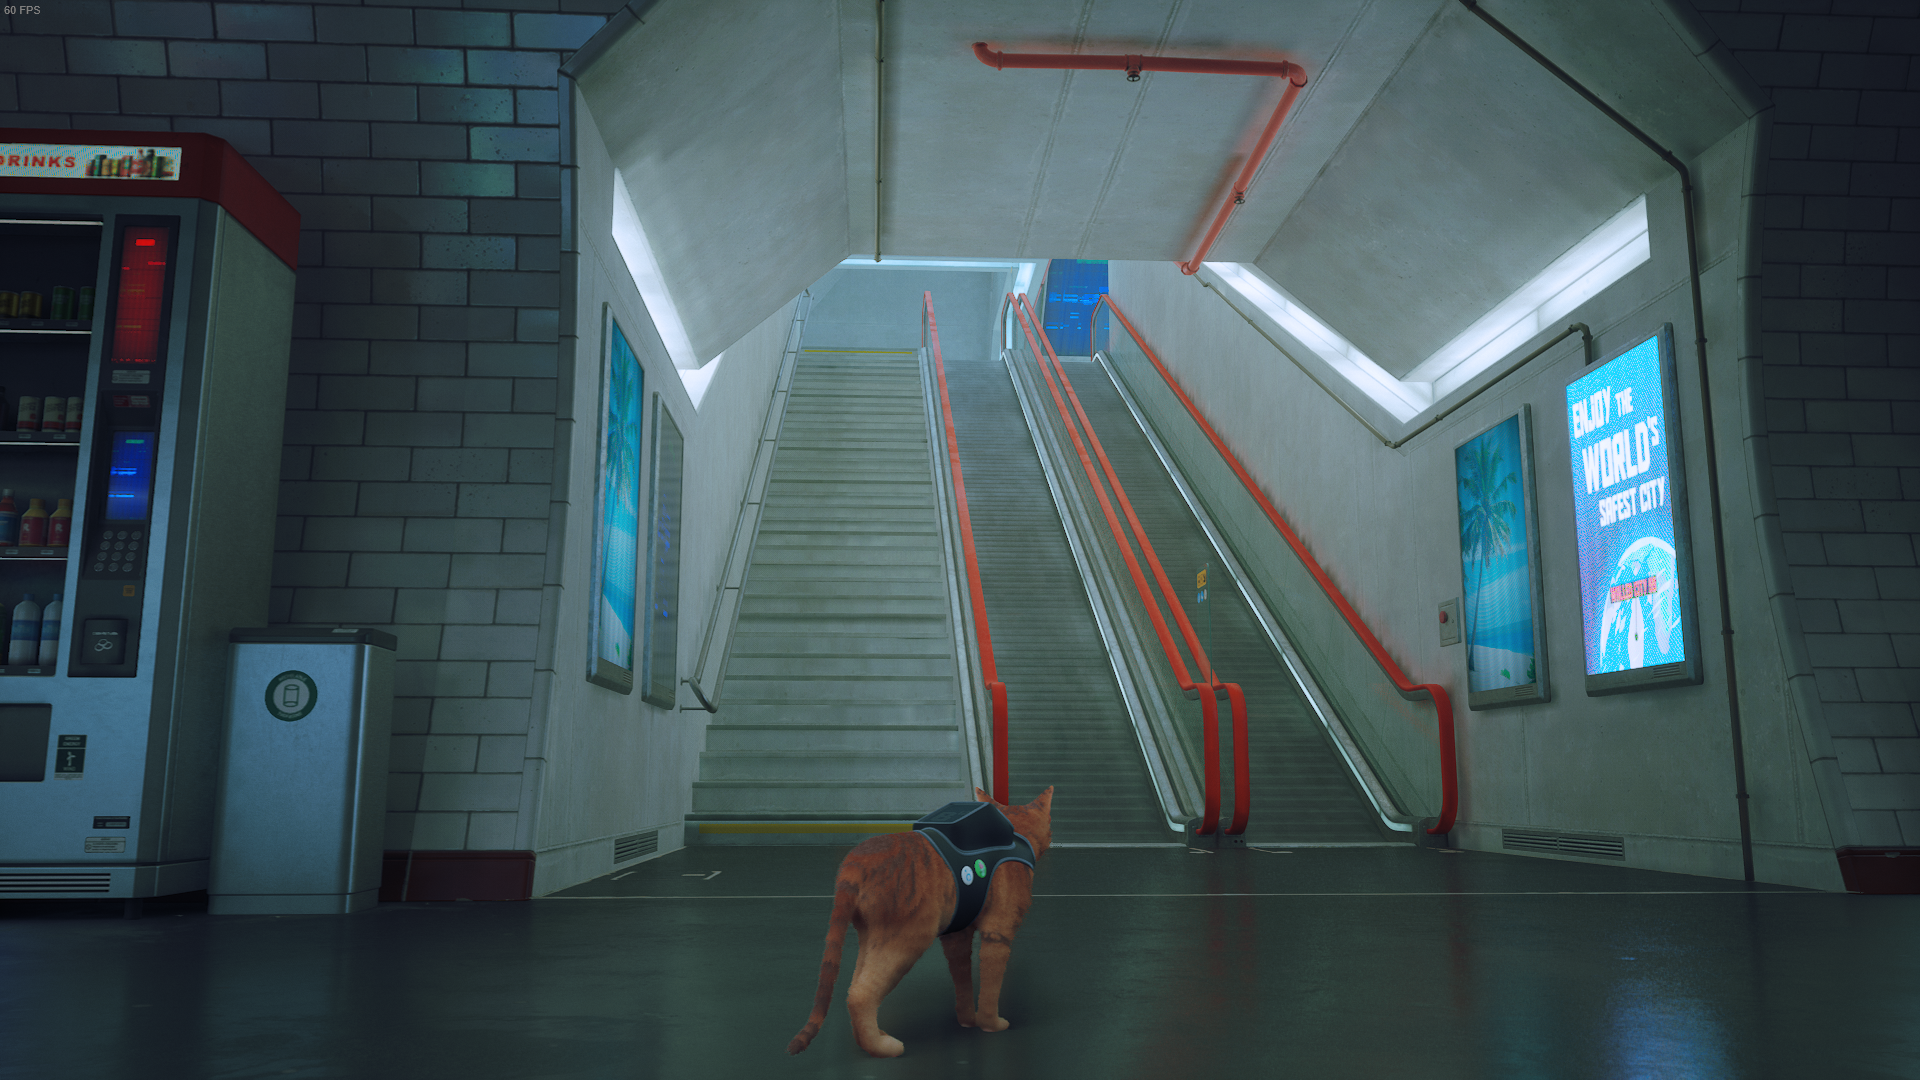
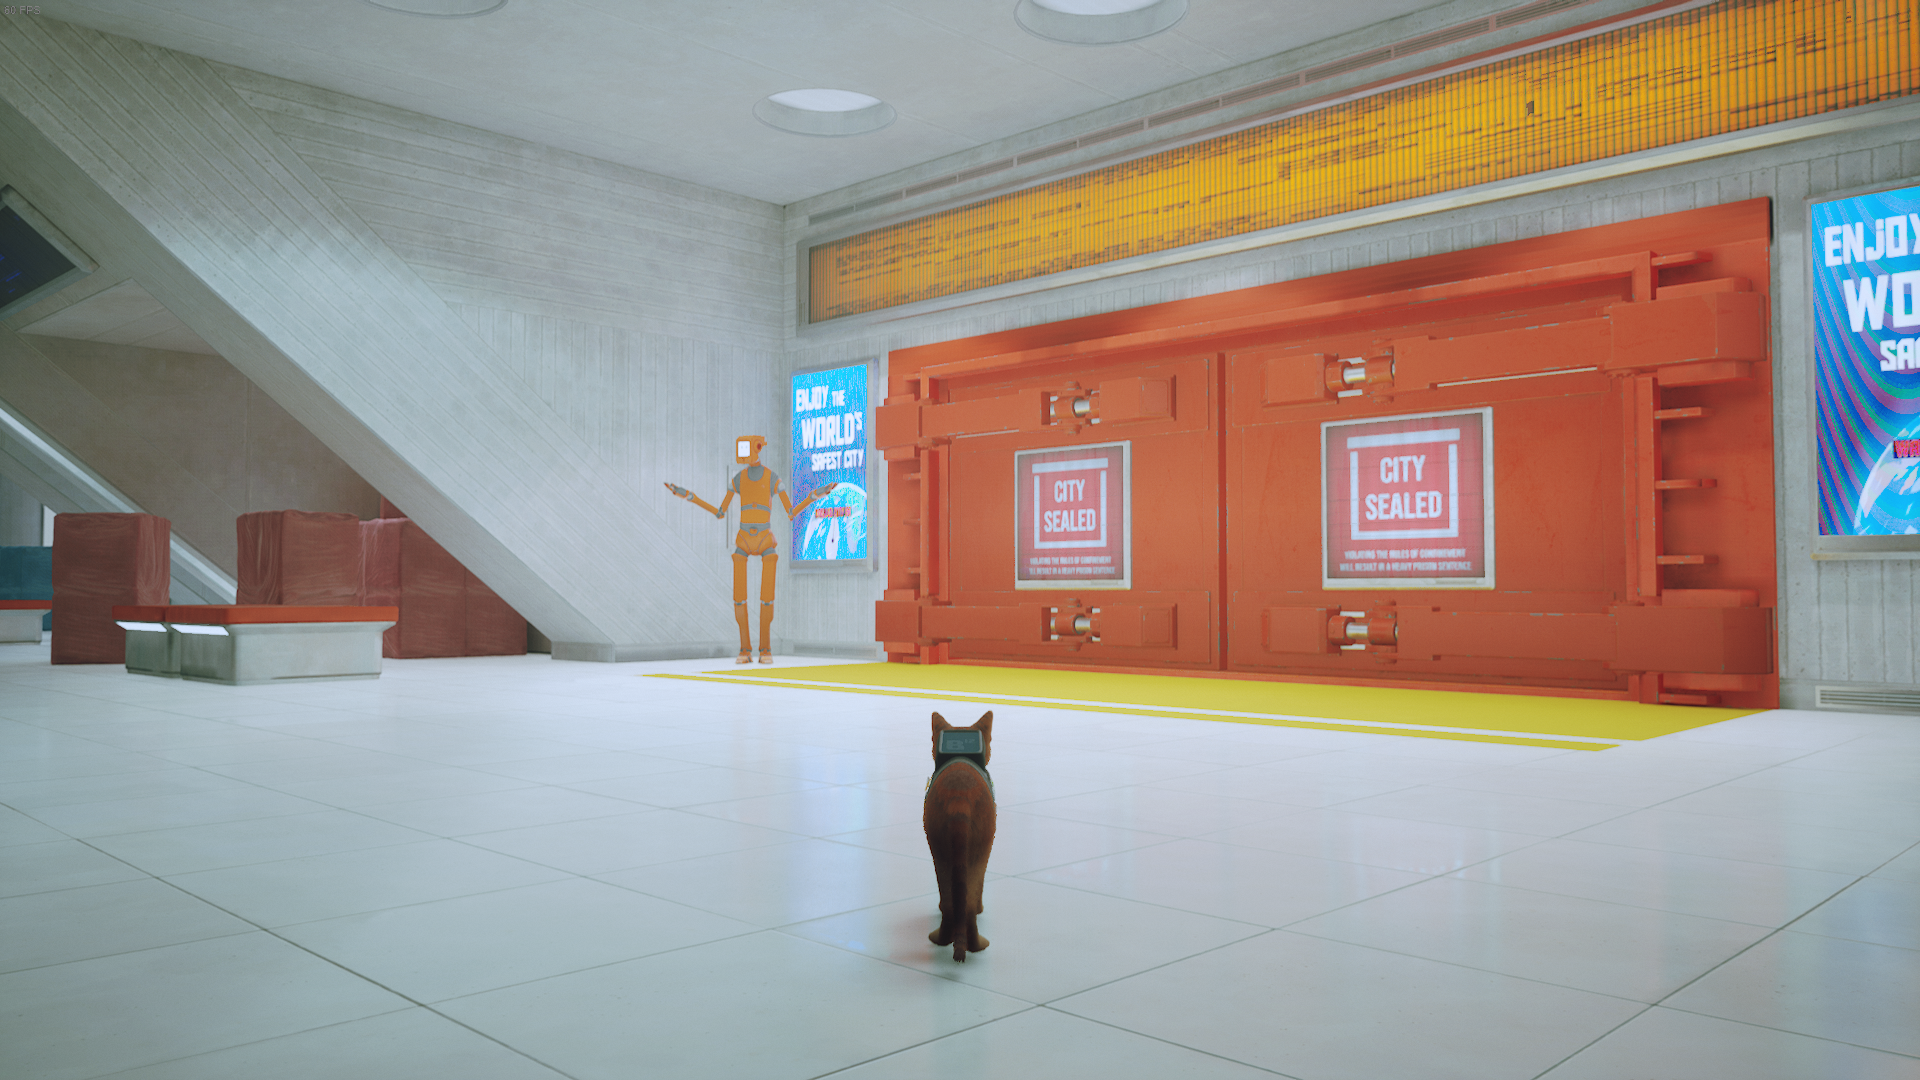
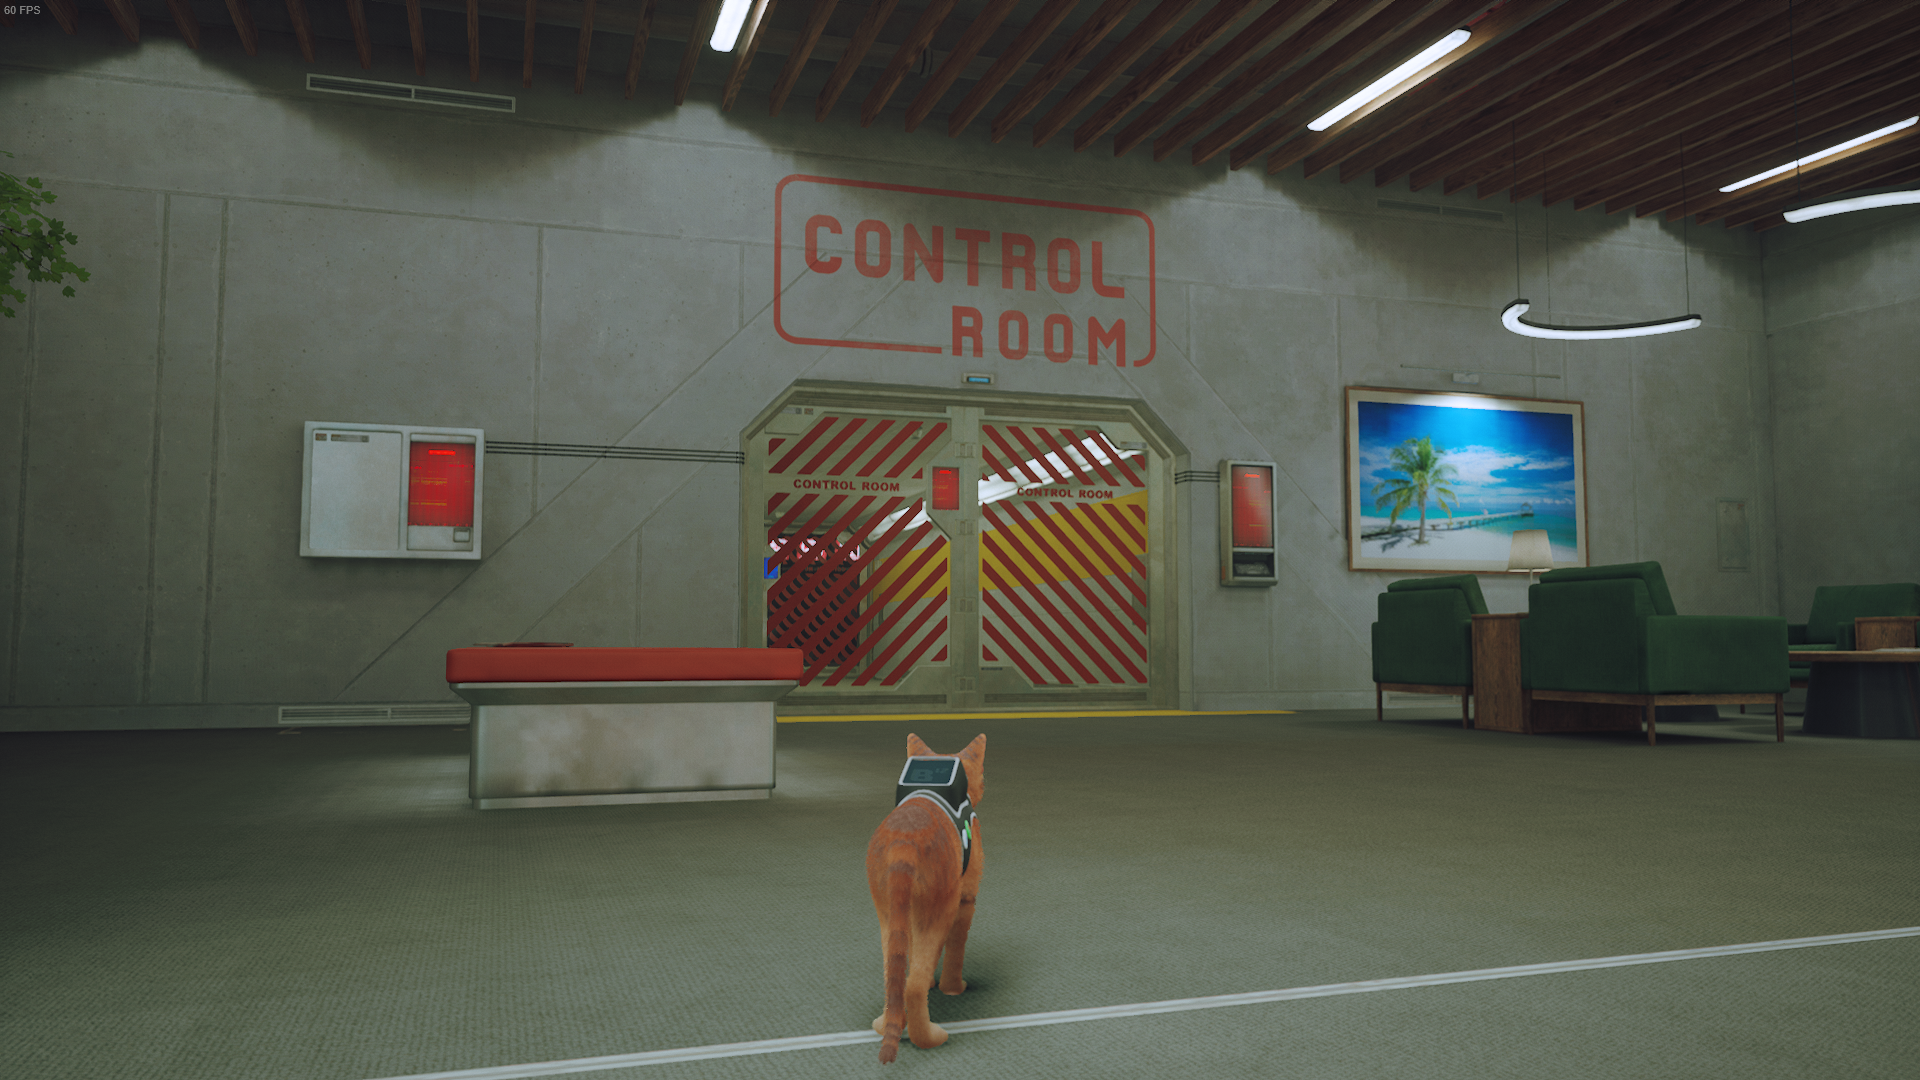
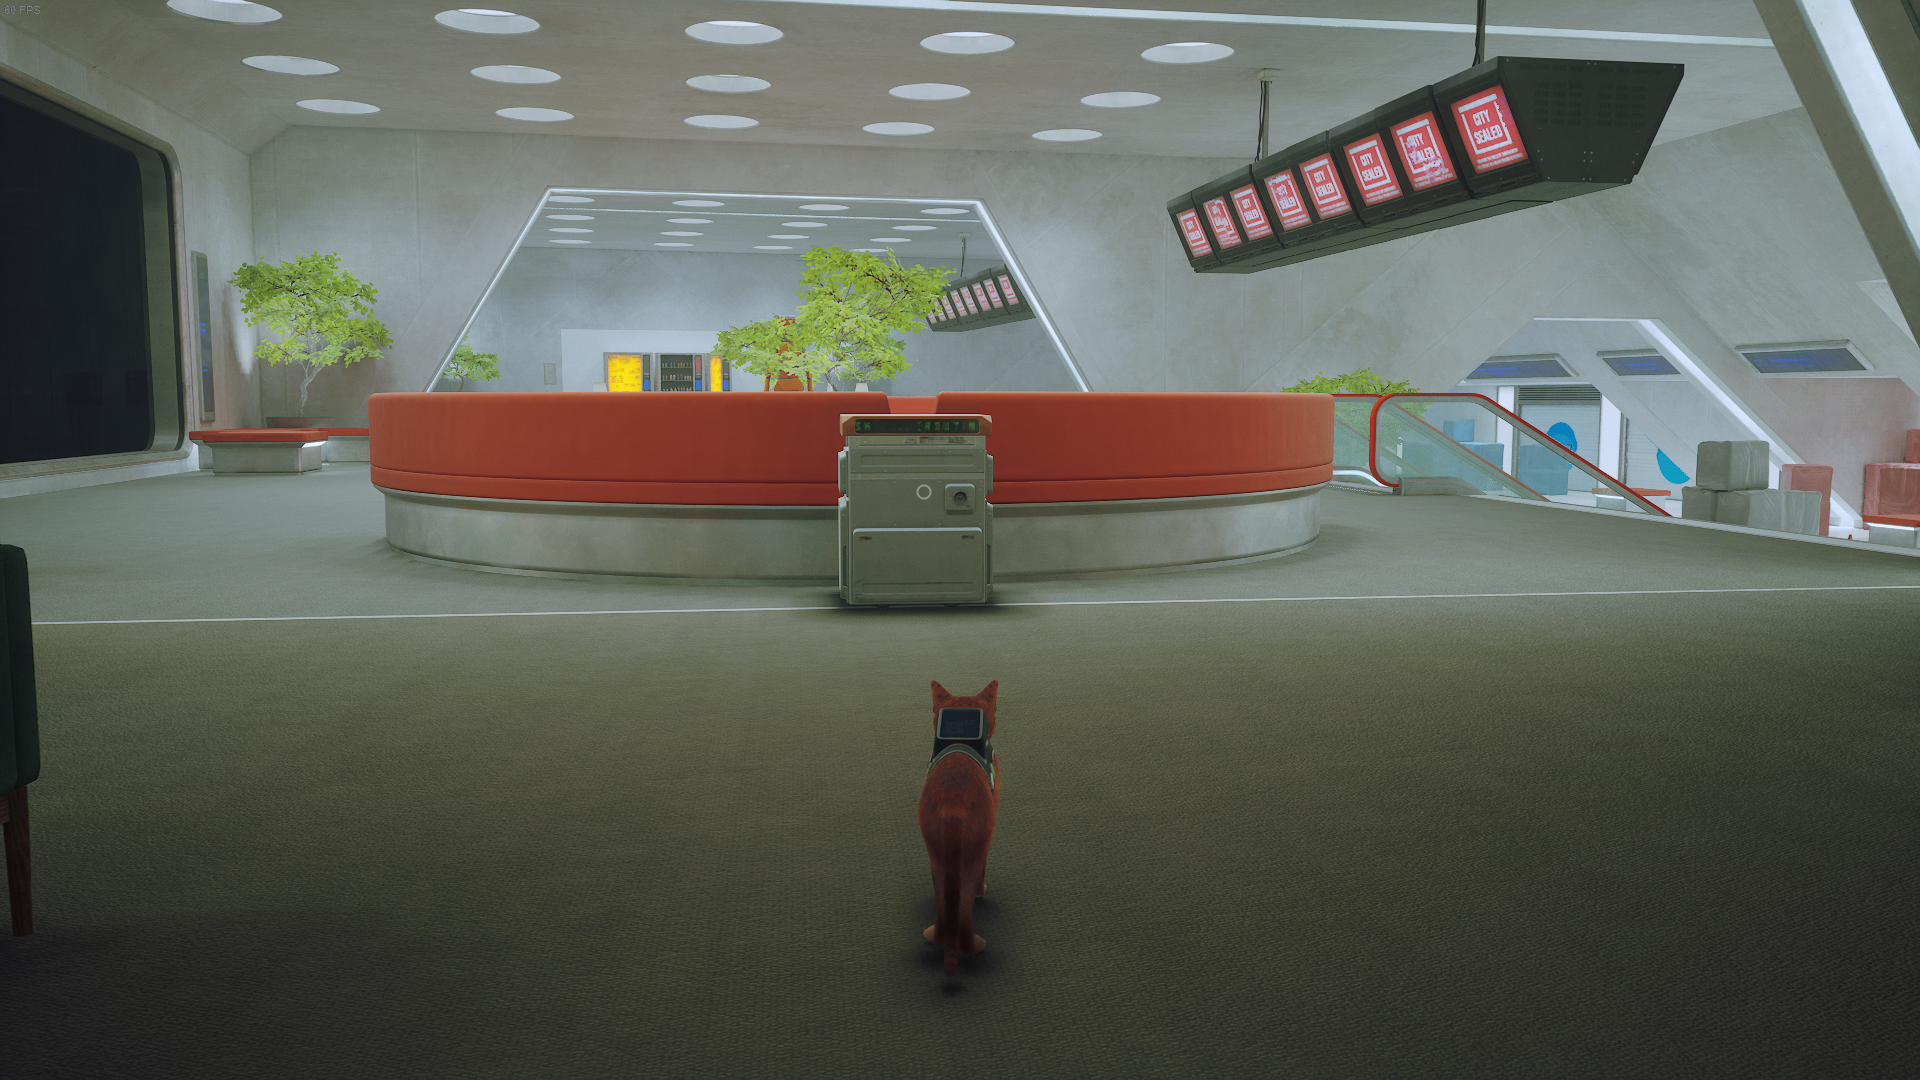
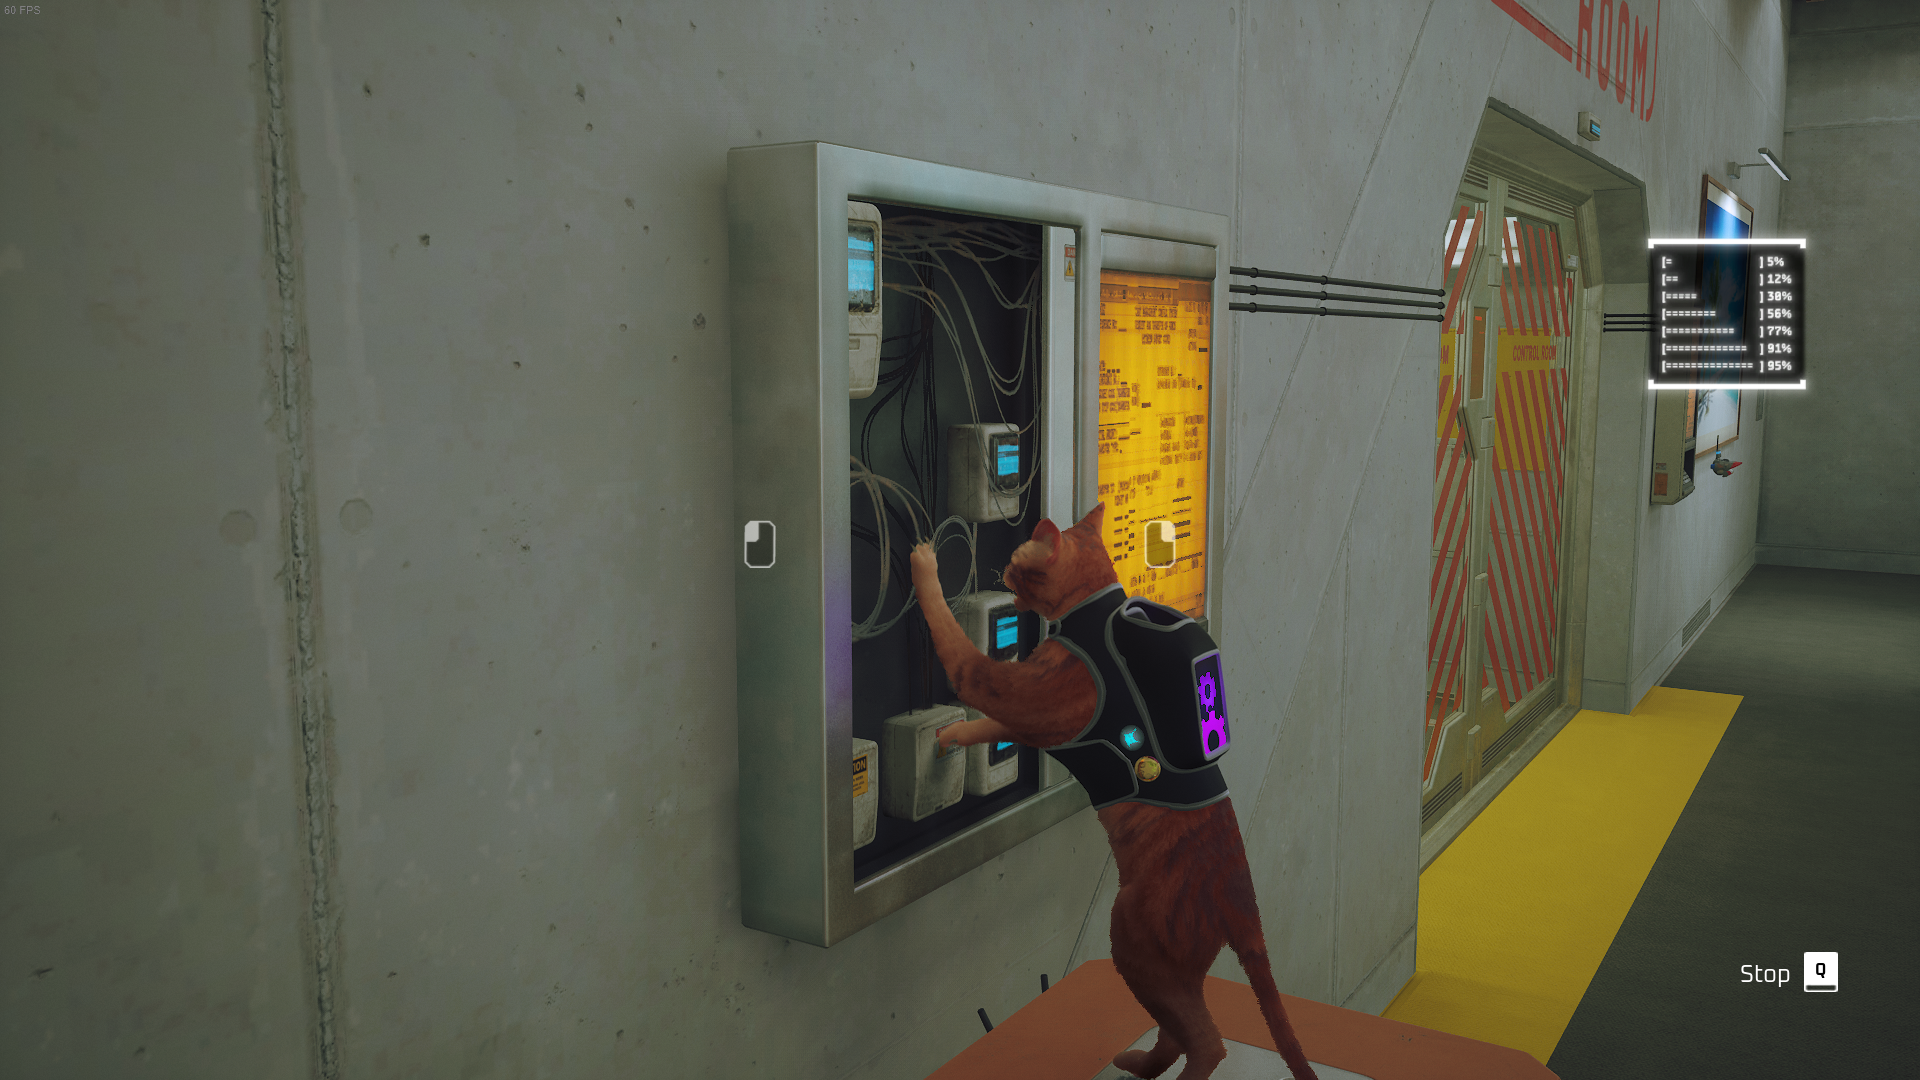
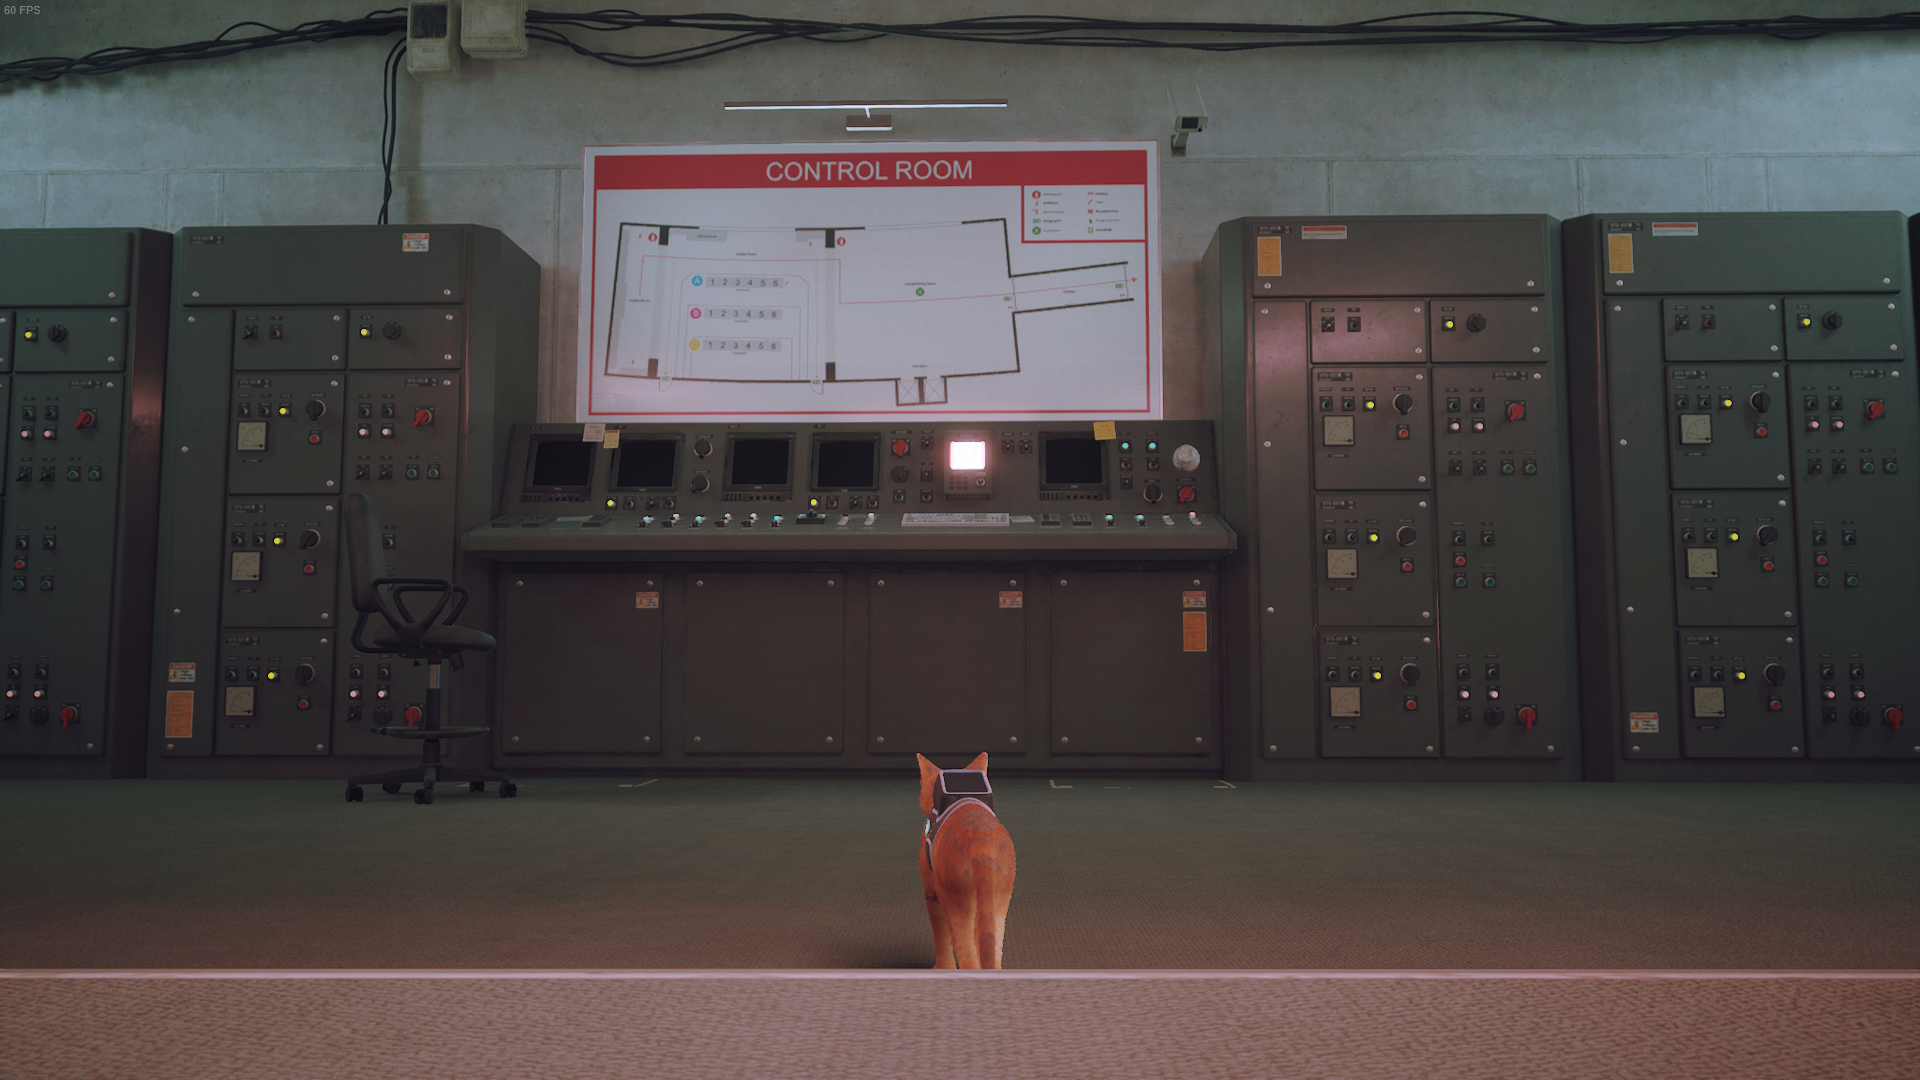
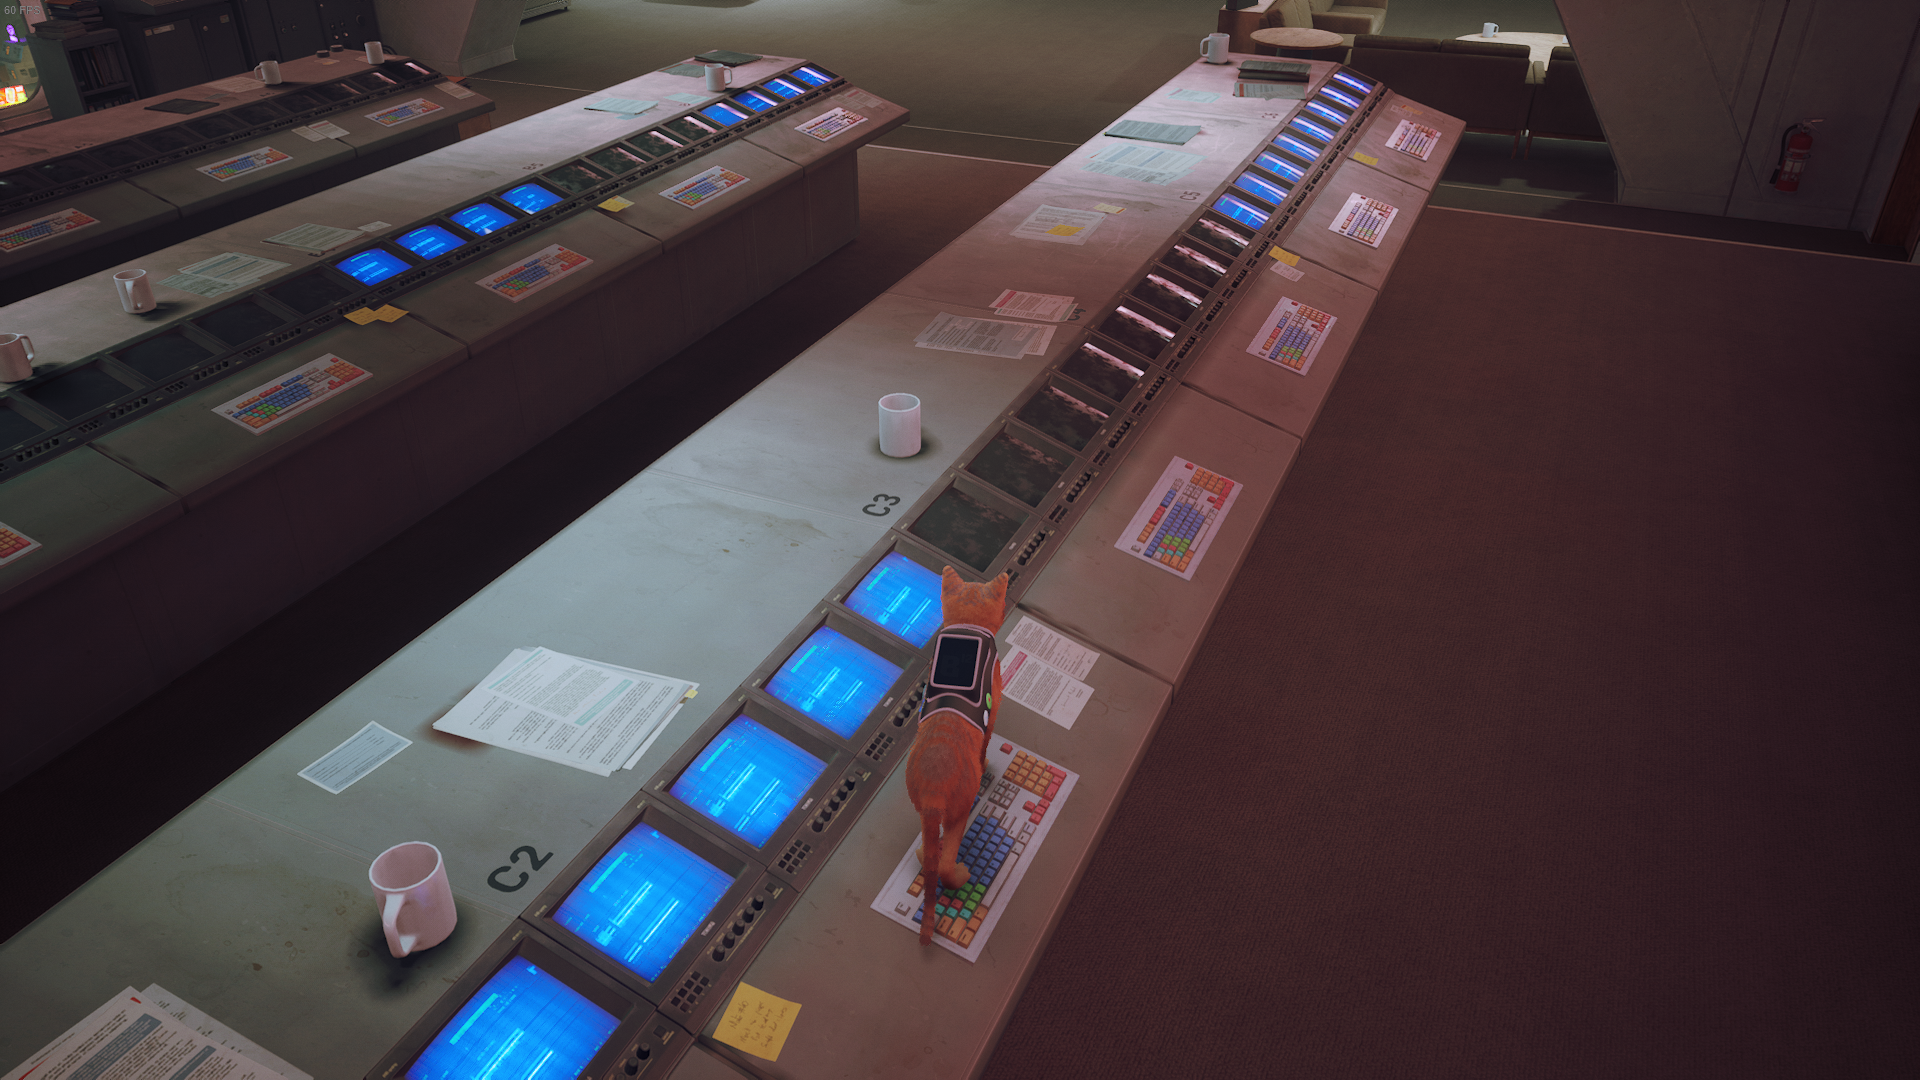
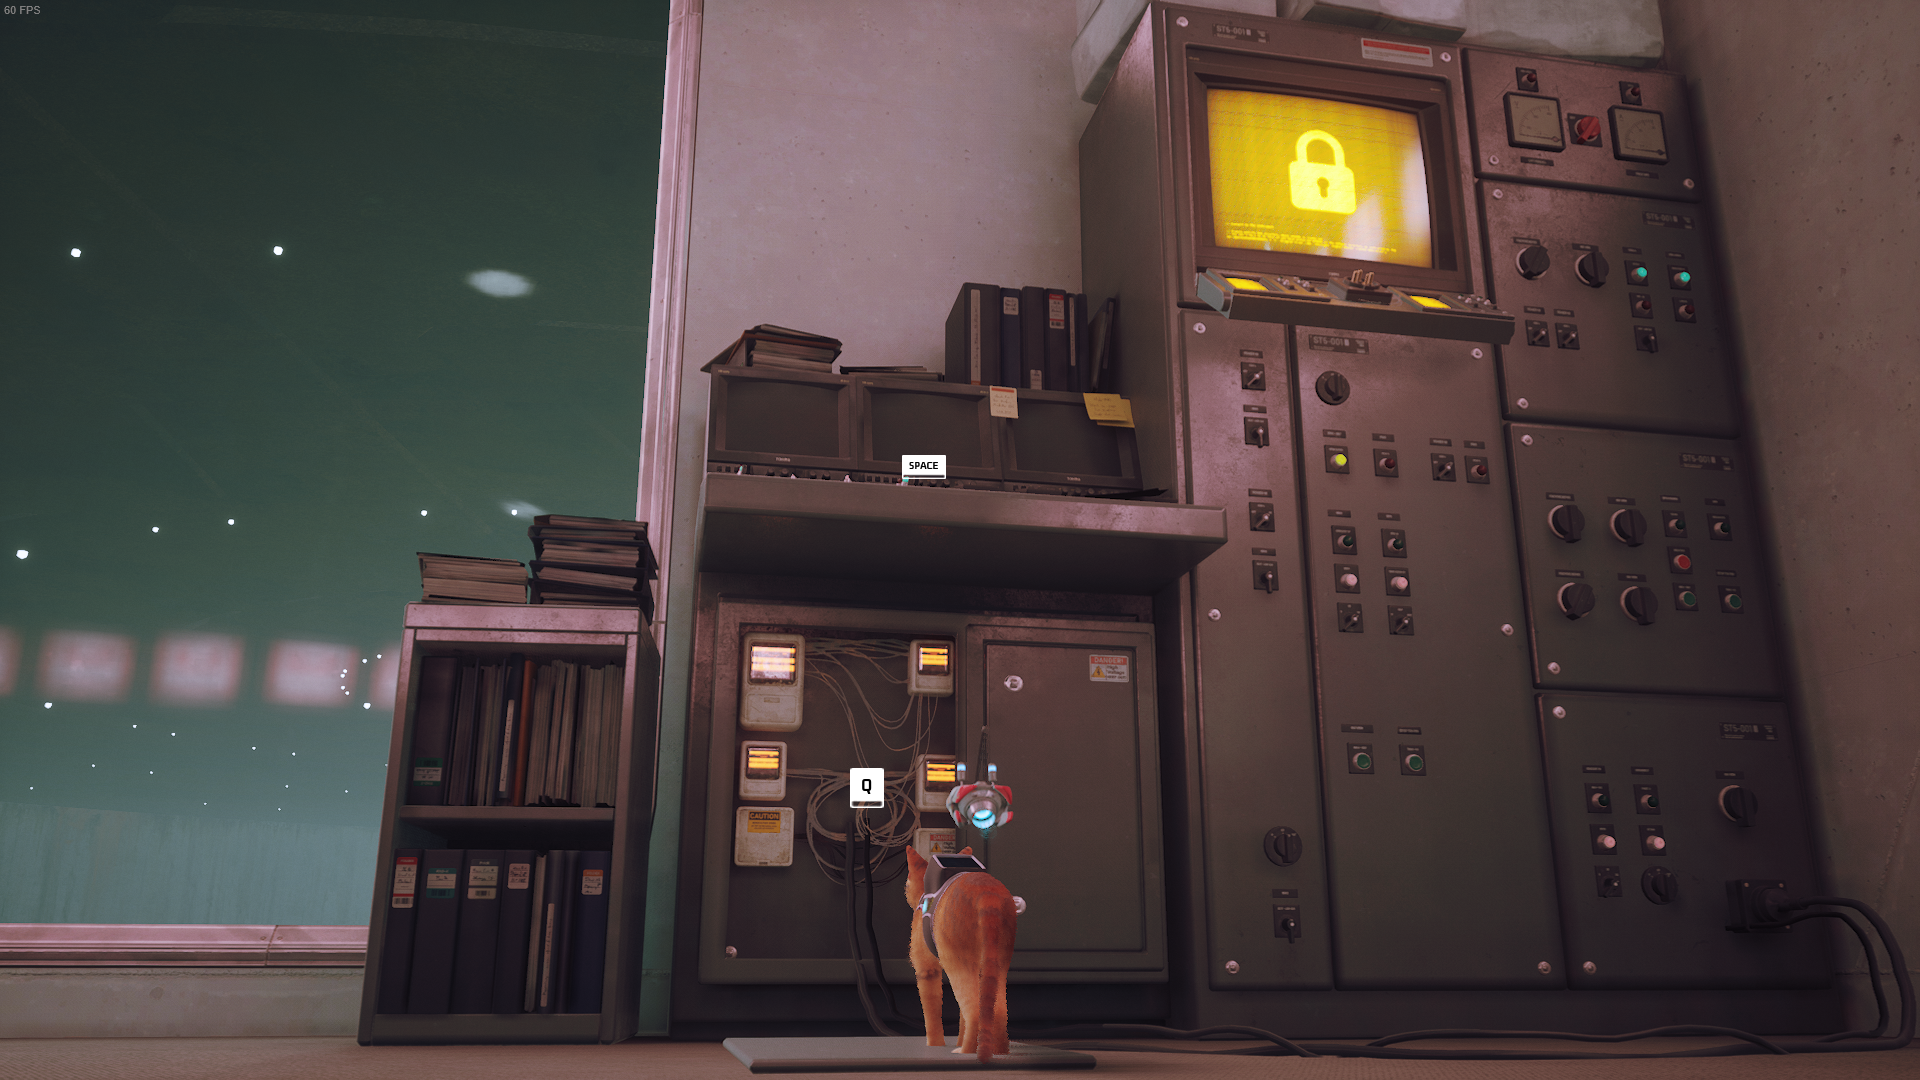
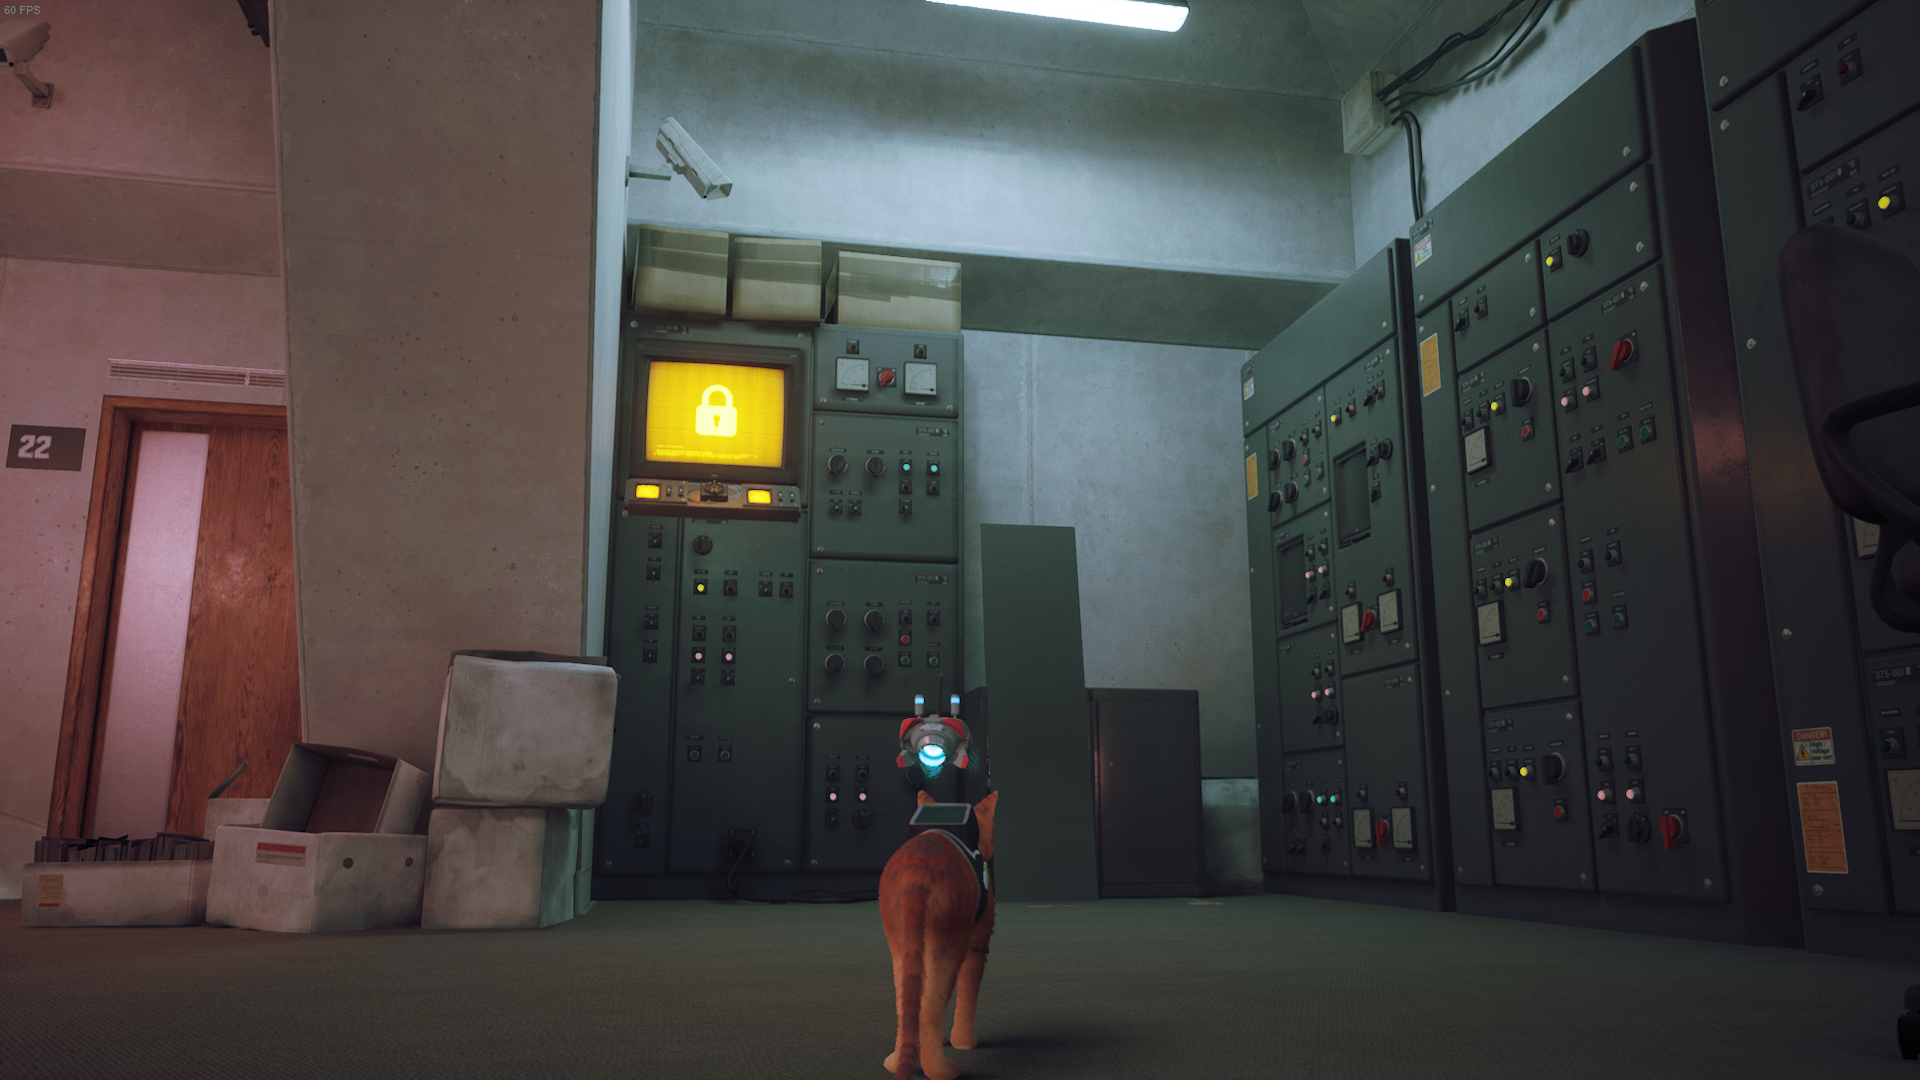
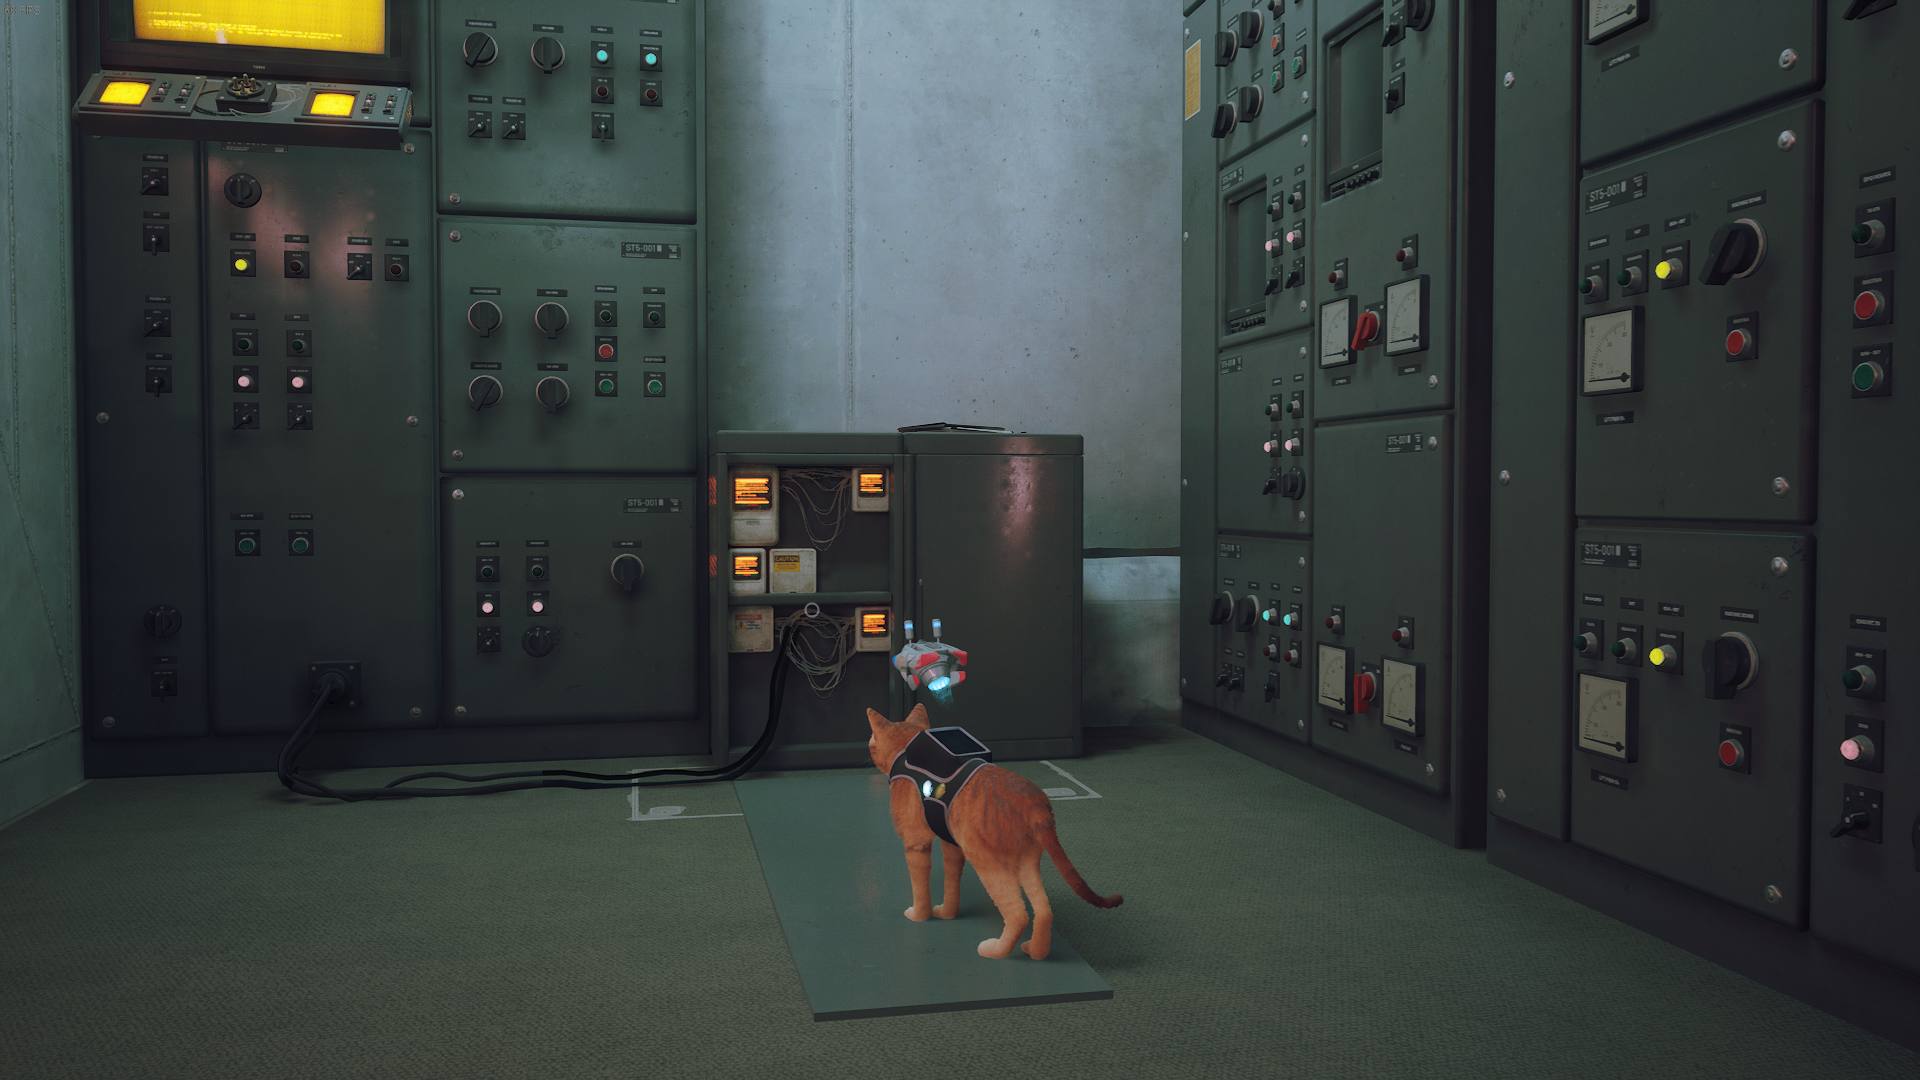
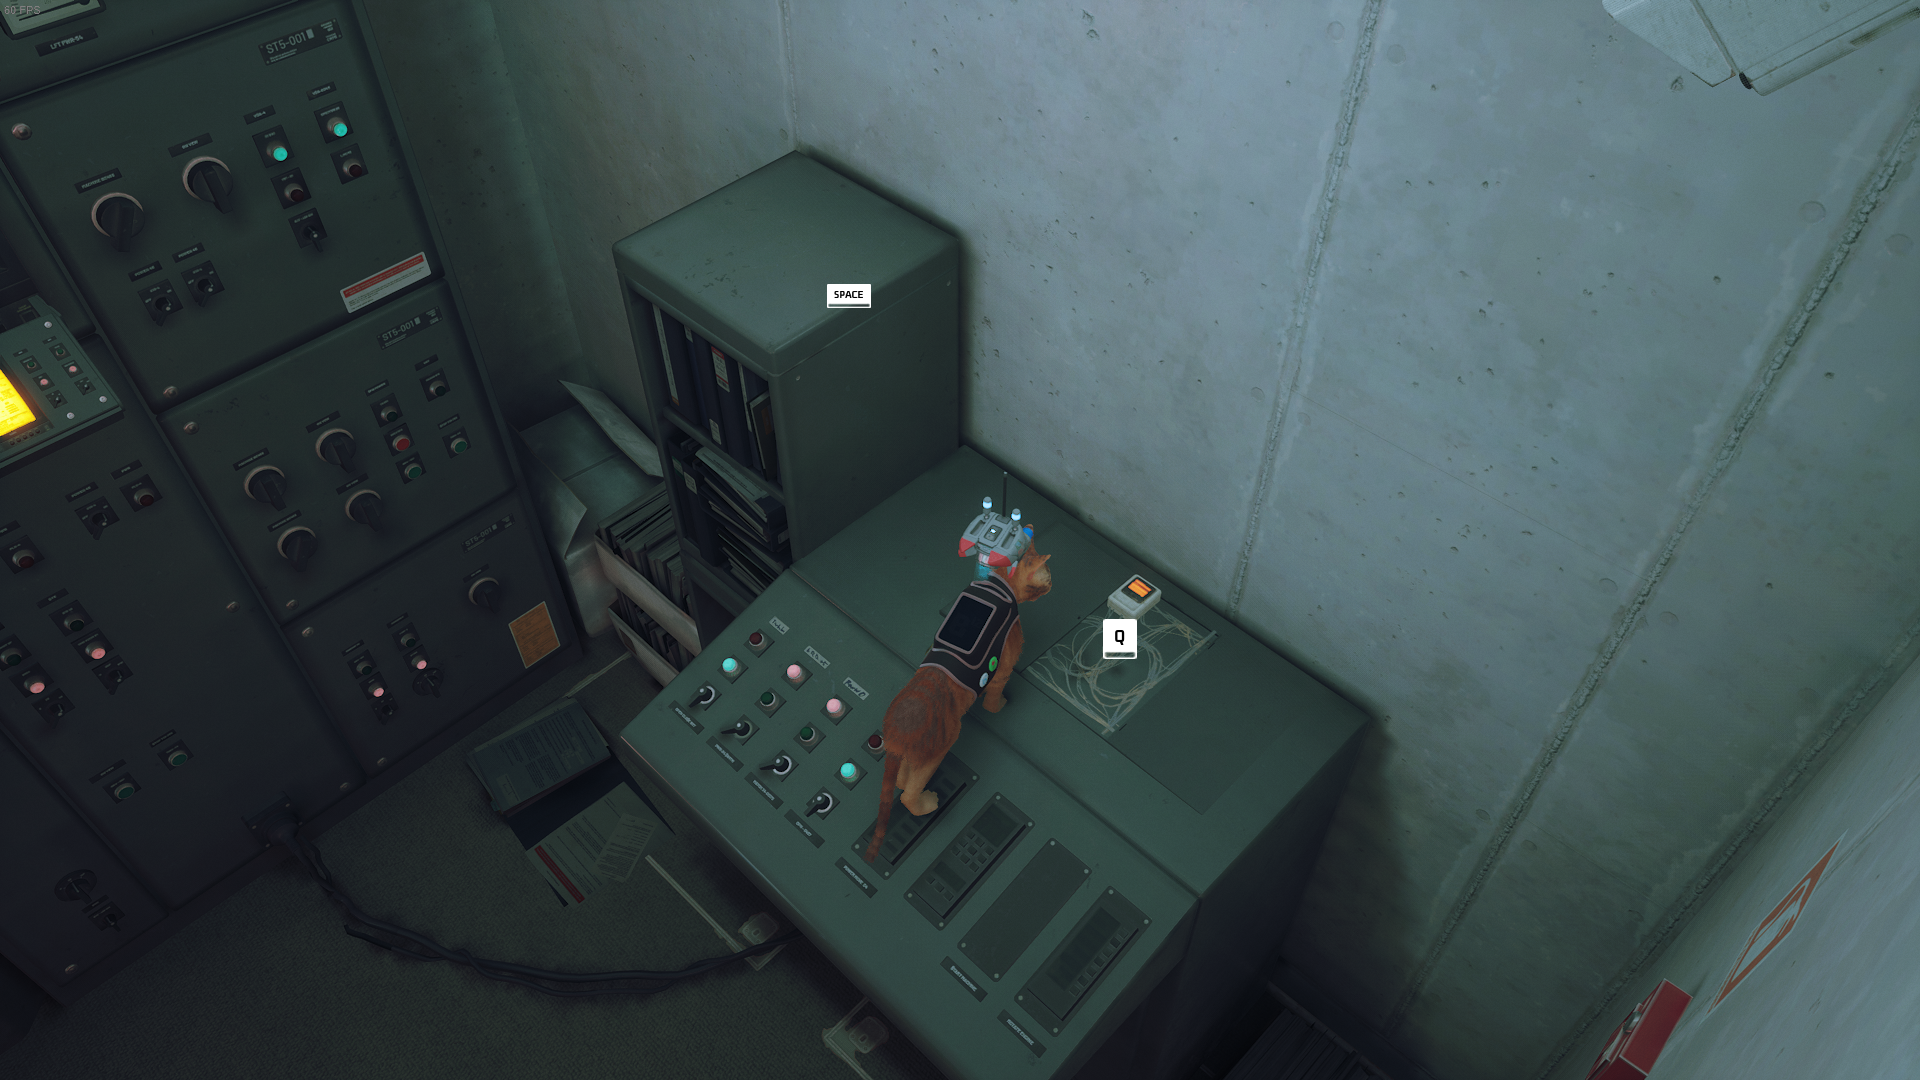
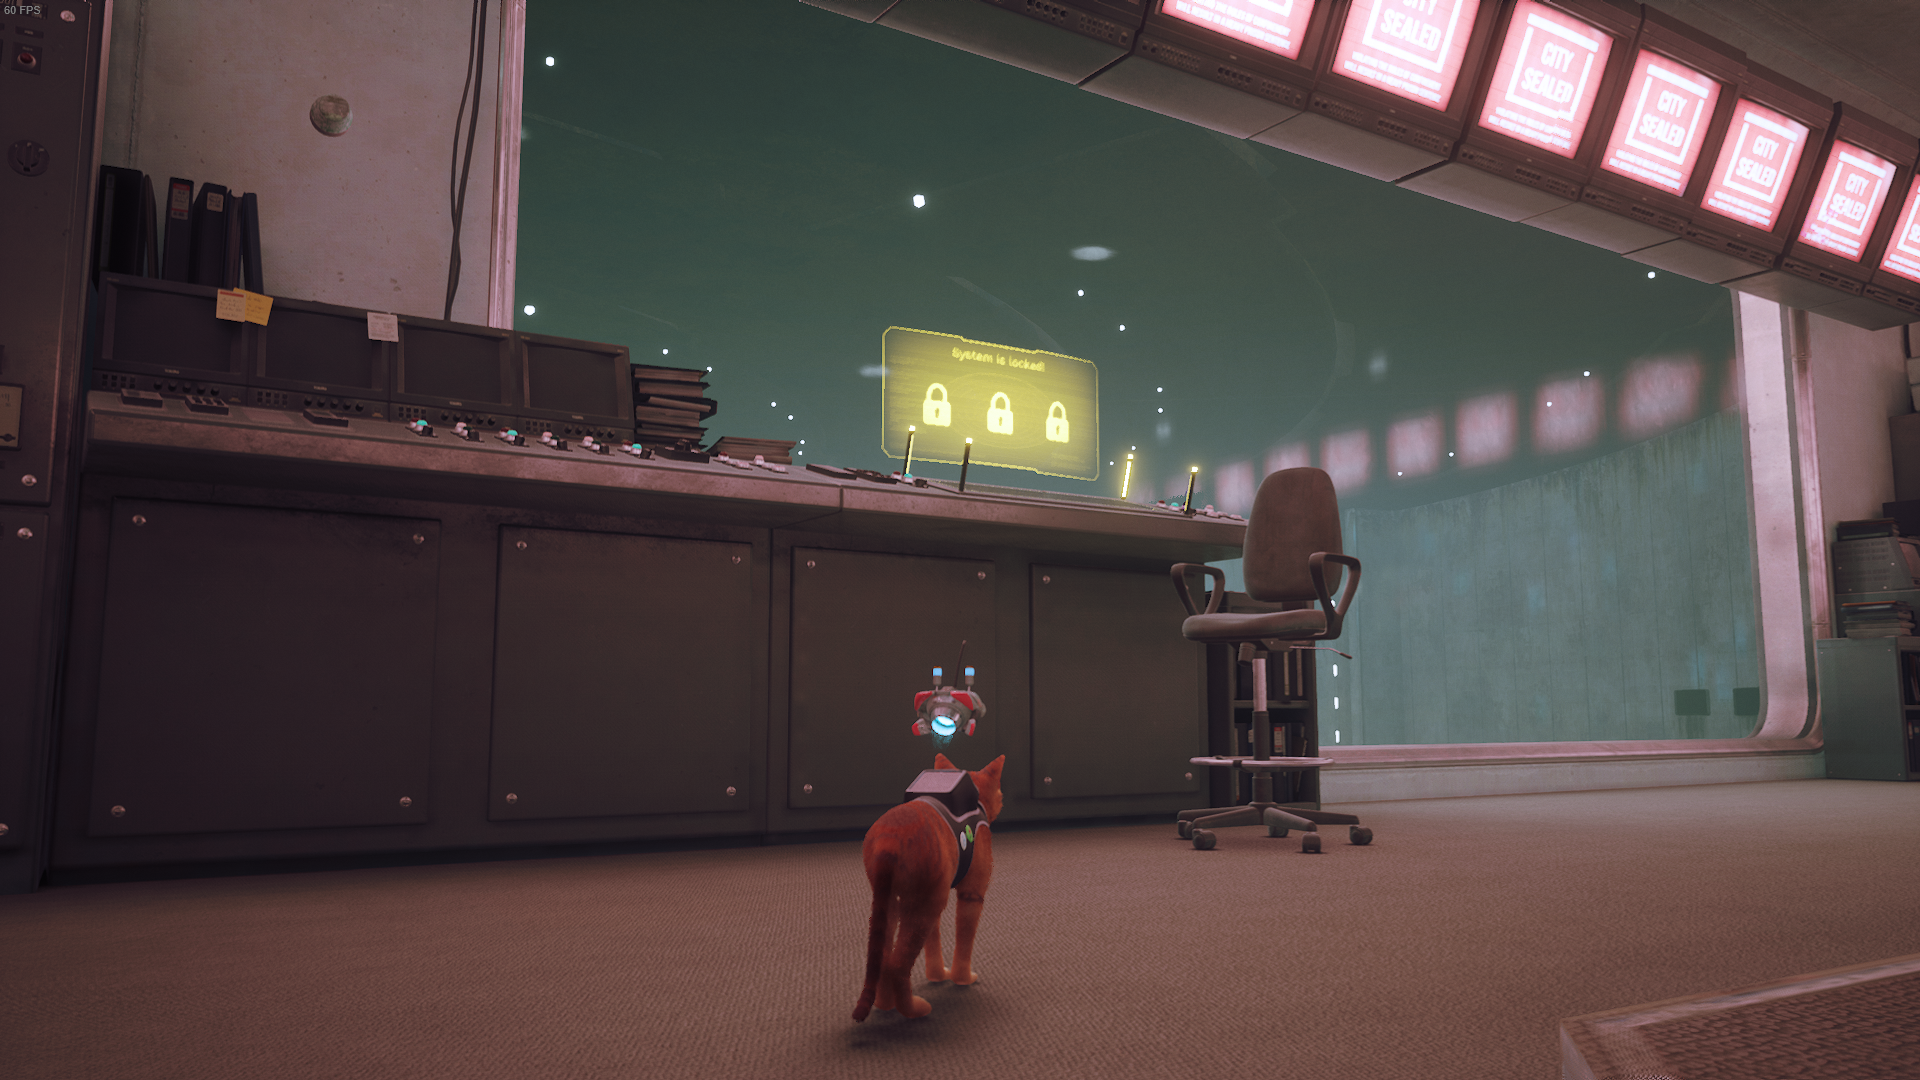
This chapter begins with a journey on the subway. Once you arrive at your destination, exit to the left of the subway and go up the escalators, then take the next set of escalators too. If you speak with the cleaning robot in front of the orange doors to your left here branded with ‘CITY SEALED’, they’ll tell you to go to the Control Room. The entrance to the room is just up the small set of stairs that face the orange door. Of course, you can’t walk straight into the Control Room just yet. Facing the entrance to the Control Room is one of the moveable boxes that you’ll be familiar with from Midtown. Power the box on, and put it underneath the control panel to the left of the door. Now, go to the lock to the right of the door and power it. Quickly jump atop the moveable box and begin clawing away at the wires here. Once they’re broken, the door will open. As you advance into the Control Room, there’ll be a cutscene - this is one of B-12’s memories, and the final core memory in Stray. Once the cutscene ends, by all means explore the Control Room to your heart’s content first. The view from here is spectacular, so I recommend indulging in that for a moment. When you’re ready, make your way over to the main computer at the very back of the room where a small cutscene with B-12 will trigger. It’ll then become apparent that all the computers need to be turned on. Turn around and jump atop the surfaces full of computers and keyboards. You’ll need to strategically run across every keyboard here so that every computer is turned on, but be careful about running back over them. This will turn them off again. With the computers turned on and following the cutscene, make your way to the big computer tower to the right of the large window (with the view). Interact with this sizeable computer, and scratch away at its wires. Once done, have B-12 hack the machine - you’ll need to do both actions for all three machines. Next, return to the main computer from earlier. Another machine is to the left. Hop onto the surface to the right of the machine and knock down the panel. Another panel is revealed for you to claw at and break, and B-12 can get hacking. The third and final computer you need to break is to the right of the control panel. Jump up, interact with the computer, the scratch away at the wires and hack the computer once more. Finally, pick up B-12 and take him to the now-unlocked blue panel in front of the window - the roof control station. It’s a lot like the panel from The Flats, which you used to power him up. Drop him down on the panel, and another cutscene plays out. There’s the tiniest bit more to this chapter, but it doesn’t require anything other than a little walking. So, to avoid any significant spoilers, I’ll leave it there. Enjoy! That’s it for the Control Room, and for Stray, but it isn’t all that there is to do. If you haven’t already, take the time to go back and collect all of Morusque’s Sheet Music and all of Stray’s Badges!